Knowing exactly how long to boil shrimp is the difference between tender, juicy seafood and rubbery, overcooked bites. The good news is that once you understand size, freshness, and a few visual cues, boiling shrimp becomes simple and very consistent.
- 1.Understanding shrimp size and timing
- 2.How to boil shrimp step by step
- 3.Stopping the cooking at the right moment
- 4.Adjusting time for peeled vs shell-on shrimp
- 5.Boiling raw vs pre-cooked shrimp
- 6.How salt and seasoning affect cooking time
- 7.Serving and storing boiled shrimp
- 8.Quick reference for how long to boil shrimp
Understanding shrimp size and timing
Cooking time for shrimp depends mainly on size. The larger the shrimp, the longer they need in boiling water, but the window between perfectly cooked and overdone is still very short. Most shrimp are sold by “count per pound,” which is a helpful guide for timing.
As a practical rule of thumb for boiling raw, thawed shrimp in gently boiling water:
- Small (51–60 count per pound): about 1 minute
- Medium (41–50 count per pound): 1 to 1½ minutes
- Large (31–40 count per pound): 1½ to 2 minutes
- Extra-large (21–30 count per pound): 2 to 3 minutes
- Jumbo (16–20 count per pound): 3 to 4 minutes
These times assume the water is at a steady, gentle boil before you add the shrimp. If you are unsure of size, it is safer to start with the shorter end of the range and rely on visual doneness cues rather than the clock alone.
How to boil shrimp step by step
Boiling shrimp is fast, so it helps to have everything ready before you start. That includes seasonings, a colander or slotted spoon, and a bowl of ice water if you want to stop the cooking immediately.
Prepare and season the water
Fill a pot with enough water to comfortably cover the shrimp and allow them to move freely. A medium pot is usually enough for up to a pound of shrimp. Bring the water to a steady boil over medium-high heat. Once it is close to boiling, season the water with salt. Around 1–2 tablespoons of kosher salt per quart of water is a good starting point, similar to well-seasoned pasta water.
To add more flavor, you can also include aromatics such as lemon slices, smashed garlic, peppercorns, bay leaves, or a seafood boil seasoning blend. Let the seasoned water boil for a minute or two so the flavors infuse before you add the shrimp.
Prepare the shrimp
Shrimp can be boiled shell-on or peeled, and both options work. Shell-on shrimp tend to stay slightly juicier and carry more flavor, while peeled shrimp are easier to eat in salads or recipes where presentation matters. If you plan to peel them, do it before boiling, leaving the tails on or off based on how you intend to serve them.
If the shrimp are frozen, thaw them fully before boiling for predictable timing. The easiest method is to place them in a colander and run cold water over them, tossing occasionally, until they are no longer icy and feel flexible. Pat them dry with paper towels so they do not cool the water too drastically when added.
Boil the shrimp
Once the water is at a steady boil and seasoned, reduce the heat slightly so it stays at a gentle but active boil rather than a violent rolling boil. Carefully add the shrimp and give them a quick stir so they cook evenly and do not clump together at the bottom of the pot.
Start your timer as soon as the shrimp go into the water. Use the size-based timing guidelines, but also watch the shrimp closely. They will cook very quickly. It is normal for the water to pause boiling briefly when you add the shrimp; it should return to a gentle boil within a few seconds.
Watch for visual doneness cues
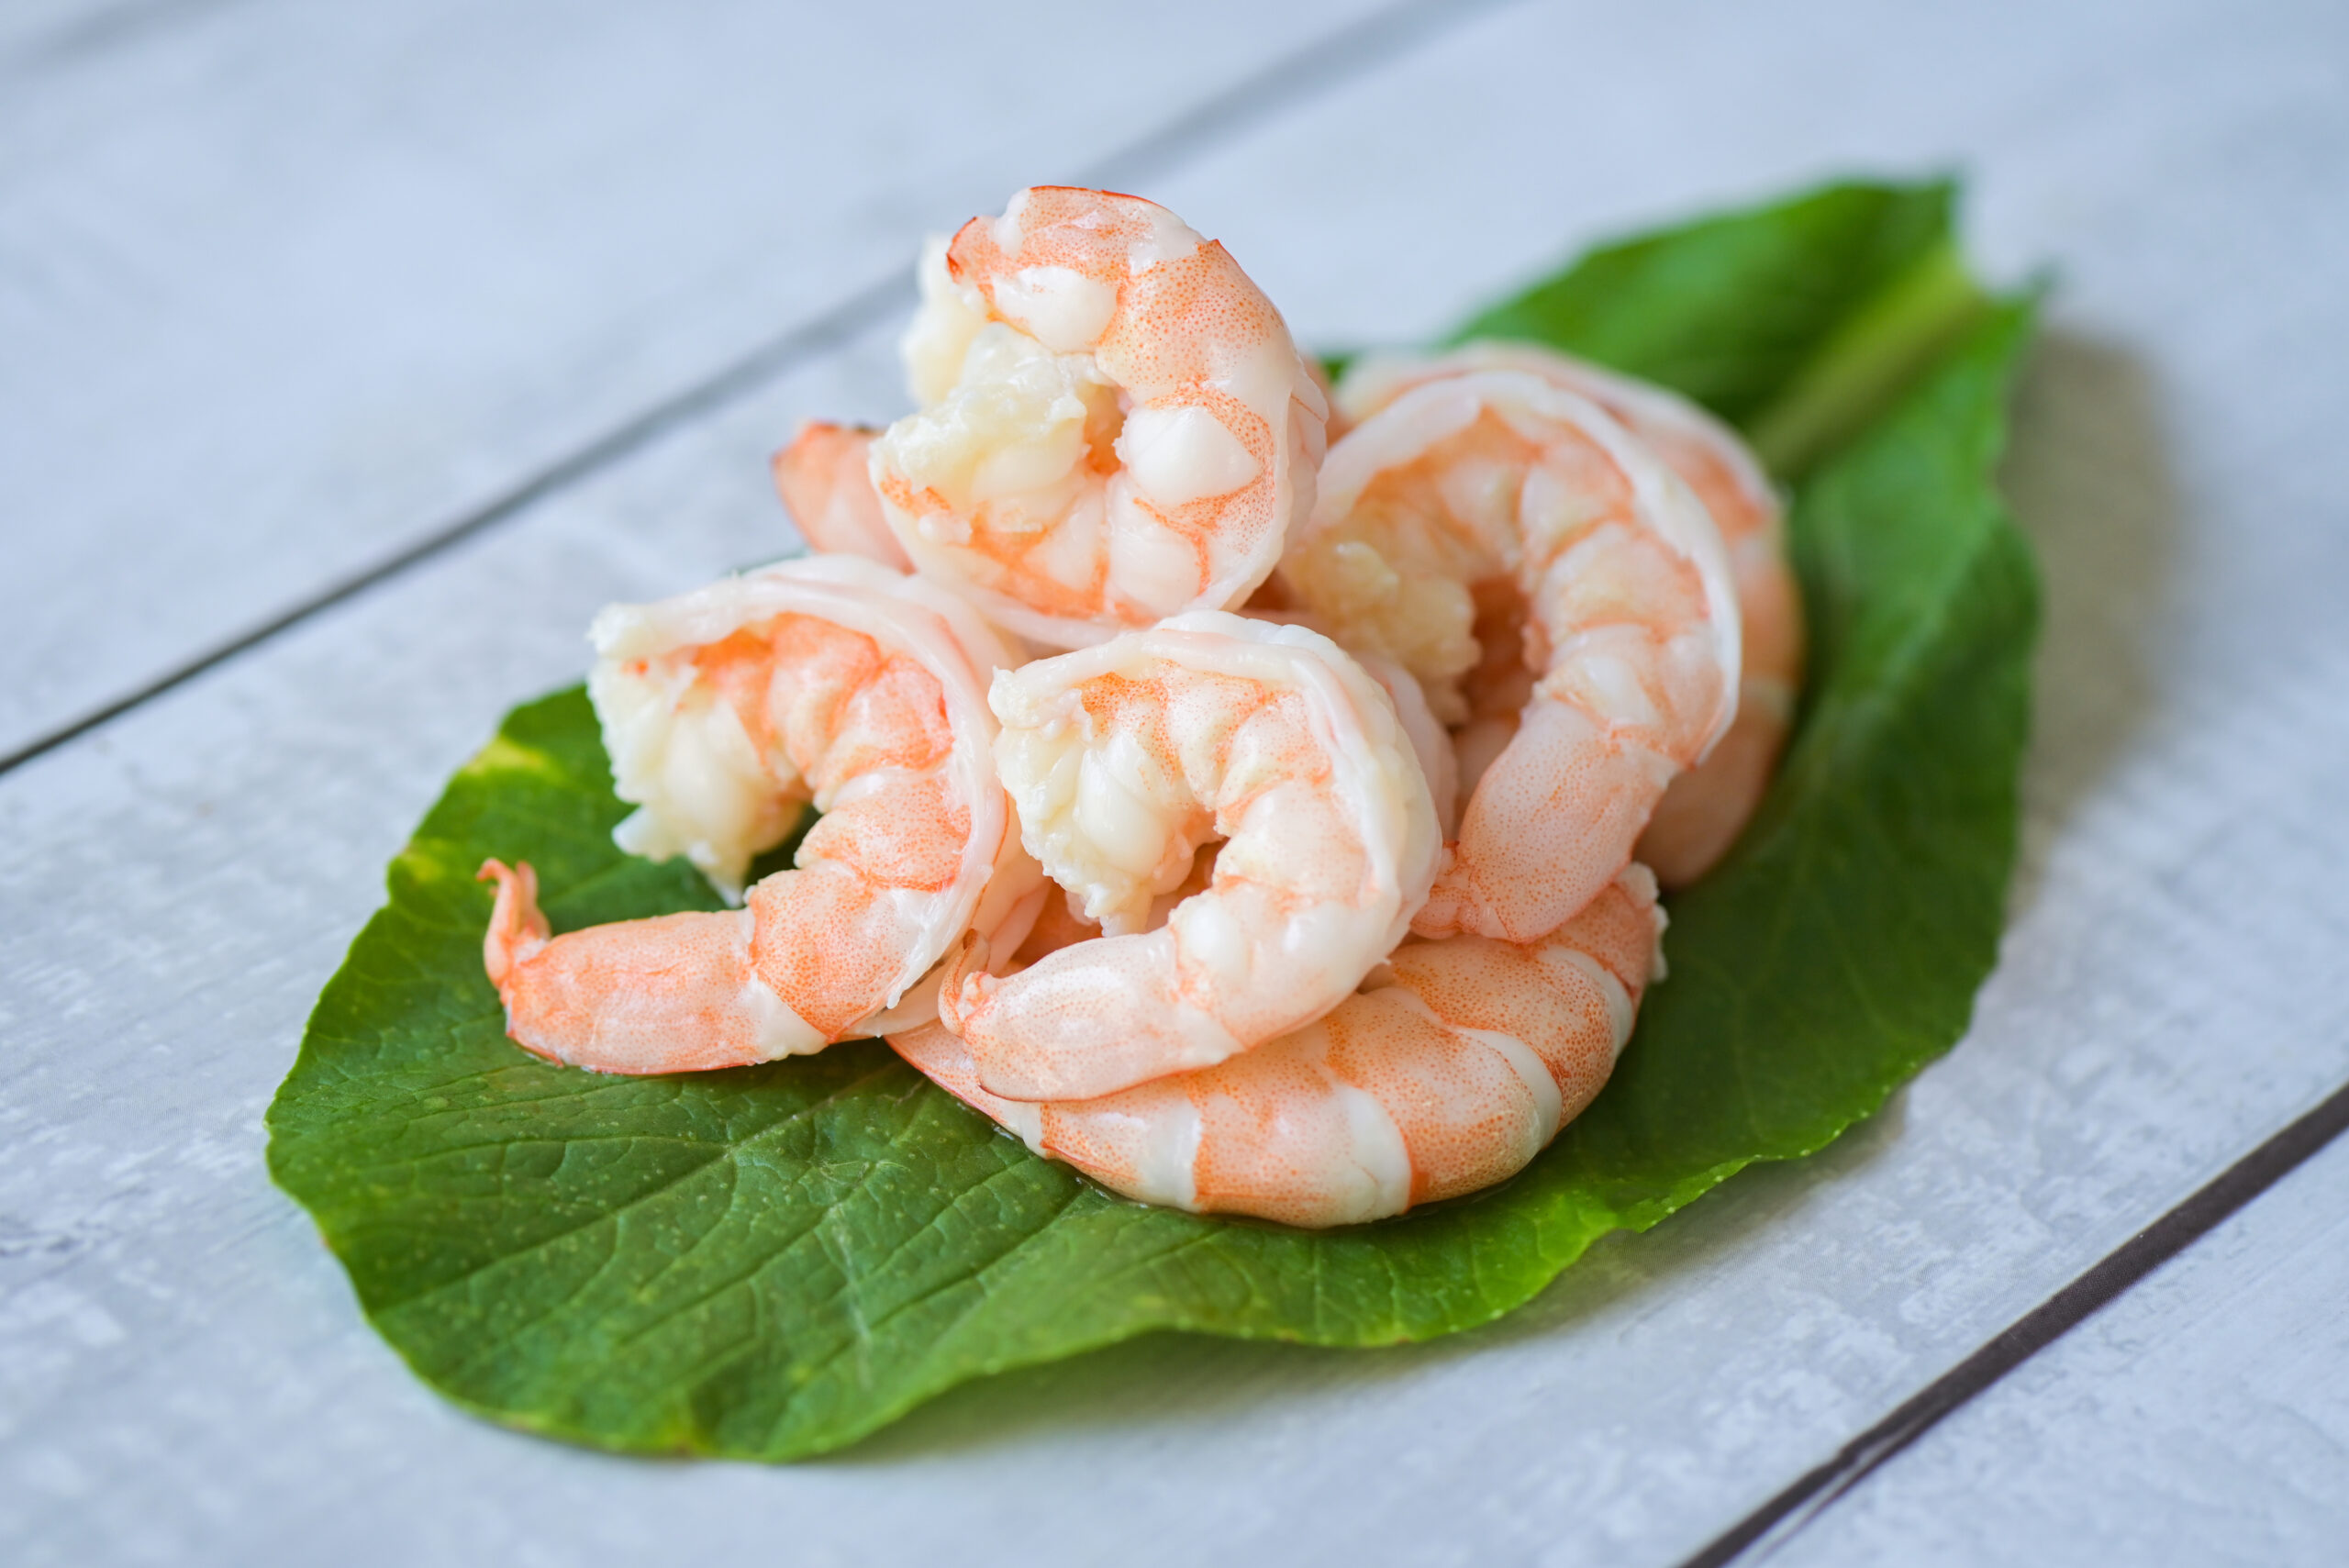
The most reliable way to know how long to boil shrimp is to watch how they change as they cook. Raw shrimp look translucent and gray. As they cook, they turn opaque and pink with bright red or pink tails. The bodies curl into a loose “C” shape when they are just done. If they curl tightly into an “O,” they are usually overcooked.
A properly boiled shrimp should be firm but not tough when pressed lightly with your finger or a fork. If you cut into one, the center should be opaque and slightly juicy, not glassy or raw-looking. As soon as the majority of the shrimp reach this point, remove the whole batch from the water immediately.
Stopping the cooking at the right moment
Because shrimp continue to cook for a short time from residual heat, it is important to cool them quickly if you want precise results. This is especially true if you are using them in chilled dishes like shrimp cocktail or salad.
Prepare a large bowl of ice water before you start boiling. As soon as the shrimp look done, scoop them out with a slotted spoon and transfer them directly into the ice bath. Let them sit for 1 to 2 minutes to stop the cooking, then drain them well. For shrimp that will be served warm, you can skip the full ice bath and simply drain them promptly, but avoid leaving them in hot water once they are done.
Adjusting time for peeled vs shell-on shrimp
Shell-on shrimp take slightly longer to cook than peeled shrimp because the shell provides a bit of insulation. If you are following a time range and cooking shell-on shrimp, lean toward the upper end of the range. For peeled and deveined shrimp, especially smaller sizes, check for doneness at the lower end of the range so you do not overshoot the ideal texture.
In practical terms, a large peeled shrimp might be done in about 1½ minutes, while a large shell-on shrimp could take closer to 2 minutes. Whenever possible, test a single shrimp first if you are unsure. This small check can prevent an entire batch from becoming overcooked.
Boiling raw vs pre-cooked shrimp
Raw shrimp require the full boiling time, but pre-cooked shrimp should not be “boiled” again. If you add pre-cooked shrimp to rapidly boiling water for as long as you would cook raw shrimp, they will become tough and dry very quickly.
If you need to heat pre-cooked shrimp in hot water, treat it as a brief warm-up, not a full boil. Bring the water to just below a boil, turn off the heat, and add the shrimp for 30 seconds to 1 minute, just until warmed through. For most recipes, it is better to add pre-cooked shrimp directly at the end of cooking a sauce or dish, letting residual heat warm them gently.
How salt and seasoning affect cooking time
Seasoning does not meaningfully change how long you should boil shrimp, but heavily salted or seasoned water can make shrimps’ texture feel firmer if they are left too long. This is another reason to monitor them closely. Use seasoning to enhance flavor, not to compensate for overcooking.
For classic boiled shrimp, a mixture of salt, lemon, and a seafood boil spice blend creates a flavorful base. Because the shrimp cook so quickly, most of the seasoning effect comes from the water’s salt level and aromatics on the shell rather than a long simmer. You do not need to extend the boiling time to “soak in” the flavor; if you want stronger seasoning, adjust the water, not the timing.
Serving and storing boiled shrimp
Once boiled and cooled, shrimp are ready to serve immediately or to use in recipes. If serving chilled, pat them dry after the ice bath so excess water does not dilute sauces or dressings. For warm servings, plan your timing so the shrimp come out of the water close to when the rest of the dish is ready. Because shrimp cook so quickly, it is often best to boil them last.
For storage, cool the shrimp thoroughly, then refrigerate them in an airtight container. Use them within 2 days for optimal taste and texture. Reheating should be very brief to avoid toughening. When possible, add leftover boiled shrimp late in the cooking process of a new dish and heat just until they are warm in the center.
Quick reference for how long to boil shrimp
To bring it all together, you can think in terms of size, hot water, and visual cues. With water at a gentle boil and shrimp that are thawed and ready, plan on 1 to 4 minutes depending on size, stop as soon as they turn opaque pink and form a loose “C,” and cool them promptly if you are not serving them right away.
Once you have boiled shrimp a few times, you will find yourself relying less on the exact minutes and more on appearance and feel. That balance of timing and observation is what consistently produces tender, flavorful shrimp instead of guessing and hoping for the best.