Cooking chicken legs in the oven is simple once you understand how time and temperature work together. The exact time depends on the oven temperature, the size of the legs, and whether they are bone-in, skin-on, or boneless. With a clear method and a thermometer, you can get juicy meat and crisp skin every time.
- 1.Typical cook times for chicken legs in the oven
- 2.How to prepare chicken legs for even cooking
- 3.Oven temperature and why it matters
- 4.Step-by-step: baking chicken legs in the oven
- 5.Using a meat thermometer correctly
- 6.Differences between bone-in, boneless, and whole legs
- 7.How to get crispy skin on chicken legs
- 8.Signs your chicken legs are done
- 9.Adjusting cook time for different ovens and setups
- 10.Resting and serving for best texture
- 11.FAQ
Typical cook times for chicken legs in the oven
For standard bone-in, skin-on chicken legs (drumsticks or whole legs), a good general guideline is:
- At 350°F (175°C): 40 to 50 minutes
- At 375°F (190°C): 35 to 45 minutes
- At 400°F (200°C): 30 to 40 minutes
- At 425°F (220°C): 25 to 35 minutes
These ranges assume the legs are fully thawed and of average size. Larger, meaty legs can sit toward the upper end of the range, while smaller drumsticks will usually be done sooner. The most important rule is that chicken legs are fully cooked when the internal temperature reaches 165°F (74°C) in the thickest part, not touching bone.
How to prepare chicken legs for even cooking
Good preparation helps the chicken cook evenly and develop better flavor. Start by patting the legs very dry with paper towels. Dry skin is essential if you want crispness instead of steaming. If the legs were previously frozen, make sure they are completely thawed in the refrigerator before cooking, ideally overnight.
Trim away any excess skin or large flaps of fat that may burn or prevent even browning. If you notice that one leg is much larger than the others, you can either give it a slightly longer cook time or start it in the oven a few minutes earlier. For more flavor, season generously with salt and any spices you like, or use a marinade and let the legs sit for 30 minutes to several hours in the fridge. Just remember to pat off excess marinade before baking so it does not burn.
Oven temperature and why it matters
Choosing the right oven temperature depends on your goal. A moderate oven, around 350°F to 375°F (175°C to 190°C), is more forgiving and helps prevent drying out, especially if you are new to cooking chicken. A hotter oven, 400°F to 425°F (200°C to 220°C), gives you crispier skin and deeper browning, but you need to watch the time more closely to avoid overcooking.
If you are roasting vegetables at the same time, you can often match the temperature to whatever works best for them and adjust the chicken time accordingly. For instance, if you use 400°F (200°C) for vegetables, expect chicken legs to be done in about 30 to 40 minutes, as long as you confirm doneness with a thermometer.
Step-by-step: baking chicken legs in the oven
To cook chicken legs in the oven reliably, follow a simple sequence from prep to resting. This keeps the process consistent so you can adjust based on your own oven and preferences.
- Preheat your oven to your chosen temperature (375°F or 400°F are good starting points).
- Line a baking sheet with foil or parchment for easier cleanup, and set a wire rack on top if you have one.
- Pat the chicken legs very dry and season them on all sides with salt, pepper, and any herbs or spices you like.
- Arrange the legs in a single layer on the rack or directly on the tray, leaving space between each piece for air circulation.
- Place the tray in the center of the oven and bake, starting to check internal temperature after about 25 minutes at higher heat or 30 minutes at moderate heat.
- Continue baking until the thickest part of the meat reaches at least 165°F (74°C). Many cooks prefer 175°F to 185°F (80°C to 85°C) for legs and thighs, as the connective tissue softens and the meat becomes more tender.
- Let the chicken rest for 5 to 10 minutes before serving so the juices redistribute.
Using a meat thermometer correctly
The surest way to know how long to cook chicken legs is to use a reliable instant-read thermometer. Instead of relying only on the clock, take a temperature reading in the thickest part of the leg, away from the bone and any obvious fat pockets. Insert the probe from the side rather than straight down so you can position it in the center of the meat.
If the reading is below 165°F (74°C), return the legs to the oven and check again after 5 to 7 minutes. Ovens vary, and tray material or rack placement can change how quickly the chicken cooks. By checking early and adjusting, you protect against both undercooking and dryness.
Differences between bone-in, boneless, and whole legs
Bone-in, skin-on drumsticks and thighs generally take a bit longer to cook than boneless pieces because the bone slows heat penetration. Whole chicken legs (thigh with drumstick attached) can need a few extra minutes compared to individual pieces, especially if they are thick. At 400°F (200°C), expect standard drumsticks to take around 30 to 35 minutes, thighs about the same or slightly more, and whole legs up to roughly 40 minutes, always adjusted by temperature checks.
Boneless, skinless thighs cook faster. At 400°F (200°C), many boneless thighs are done in about 20 to 25 minutes. Because they have no skin to protect them, it is easier to overcook them if you rely only on time. For these, checking the internal temperature earlier, around the 18 minute mark, is wise, especially if they are on the smaller side.
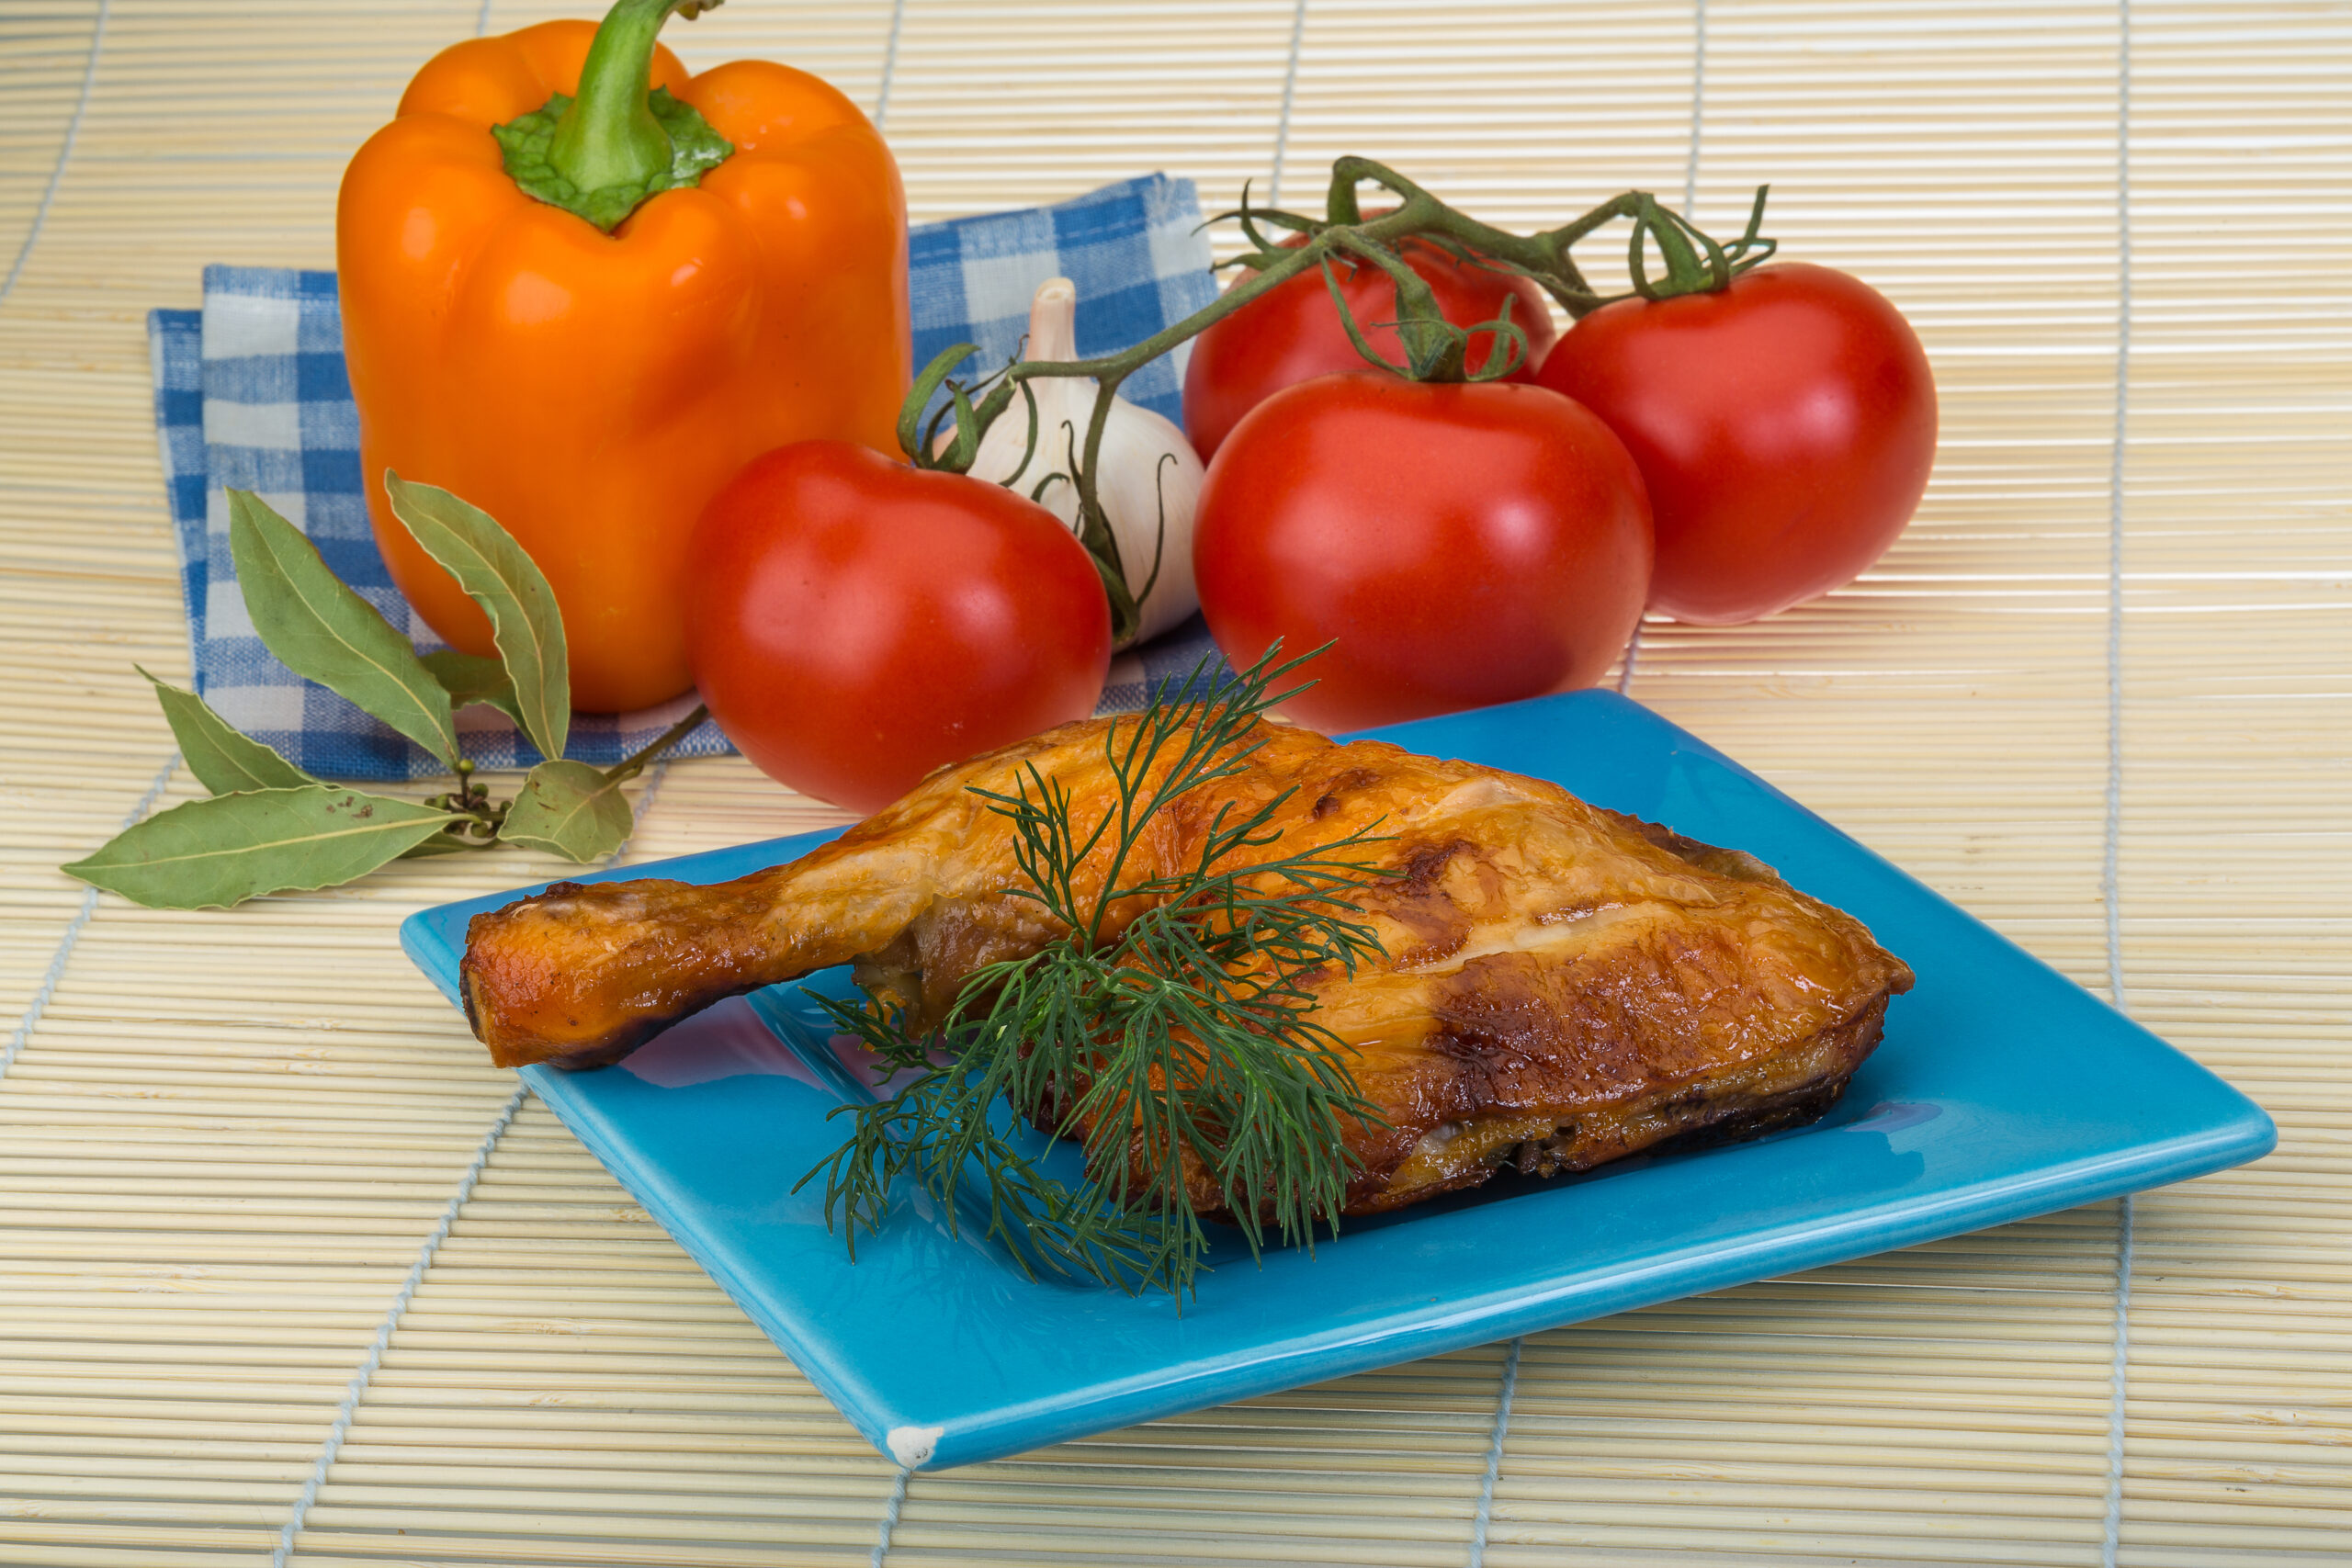
How to get crispy skin on chicken legs
If your main concern is crispy skin, both preparation and temperature matter. Dry skin is the starting point. After patting the legs dry, you can lightly oil them and season with salt, which draws out moisture and helps the skin render and brown. Baking at 400°F or 425°F (200°C to 220°C) encourages crispness, especially if the legs sit on a wire rack so hot air can circulate underneath.
If the meat is cooked through but the skin is not as crisp as you want, you can finish under the broiler for 2 to 4 minutes. Keep the tray on a middle rack and watch closely to avoid burning. Turning the legs once during cooking also exposes more skin to direct heat and can improve browning, but it is not essential if your oven heats evenly.
Signs your chicken legs are done
Temperature is the primary standard for doneness, but visual and textural cues help confirm. Fully cooked chicken legs will have clear juices when pierced near the bone, not pink or red. The meat should feel firm but not tough when pressed with tongs. The skin will look golden brown, and in many cases slightly darker at edges where fat has rendered.
If you cut into a test piece, the meat should be opaque all the way to the bone with no translucent or raw-looking areas. If you find a small patch of pink near the bone but your thermometer reads above 165°F (74°C), it is usually safe, as bone marrow and hemoglobin can add color even when fully cooked. When in doubt, give the legs a few more minutes and recheck.
Adjusting cook time for different ovens and setups
Home ovens are rarely perfectly calibrated. Some run hotter or cooler than the setting, and hot spots can cause uneven cooking. If you notice your chicken legs are consistently taking longer or shorter than the general time ranges, use that pattern to adjust. For example, if recipes say 35 minutes at 400°F (200°C) but your legs reach 165°F in 28 minutes, assume your oven runs hot and begin checking earlier next time.
Tray type also matters. Dark, thin metal pans tend to promote faster browning and can slightly reduce cook time. Thick, heavy pans may need a few extra minutes. Convection (fan) ovens typically cook faster; if you use convection, you can often reduce the set temperature by 25°F (about 15°C) or start checking for doneness 5 to 10 minutes earlier than standard times suggest.
Resting and serving for best texture
Once the chicken legs reach the correct internal temperature, taking a short rest is worthwhile. Removing them from the oven and letting them sit on the tray or a warm plate for 5 to 10 minutes allows the juices, which were driven toward the center by oven heat, to redistribute through the meat. This makes each bite more moist and reduces the chance of dry patches near the surface.
During the rest, do not cover the legs tightly with foil if you value crisp skin. Trapping steam softens the exterior. A loose tent is acceptable if you need to hold them a bit longer before serving, but leaving them uncovered in a warm spot preserves the texture you worked to create.
FAQ
Is it safe if chicken legs are slightly pink near the bone?
Chicken legs are safe when the internal temperature reaches at least 165°F (74°C), even if there is a small amount of pink near the bone. Pigment from bone marrow and hemoglobin can keep a pink tone in some areas despite being fully cooked.
Should I cover chicken legs with foil while baking?
For most oven baking, you do not need to cover chicken legs. Leaving them uncovered helps the skin dry and crisp. Foil is useful only if the skin is browning too quickly and you need to shield it while the interior finishes cooking.
Can I bake frozen chicken legs without thawing?
You can bake frozen chicken legs, but they will take significantly longer, often 50 percent more time or more. Increase the total cook time and check that the internal temperature reaches at least 165°F (74°C) in the thickest part.
How long can cooked chicken legs rest safely before serving?
Cooked chicken legs can rest at room temperature for about 10 to 15 minutes without issue. For longer holding, keep them in a warm oven (around 200°F / 95°C) for up to 30 minutes, loosely tented, to maintain temperature without overcooking.