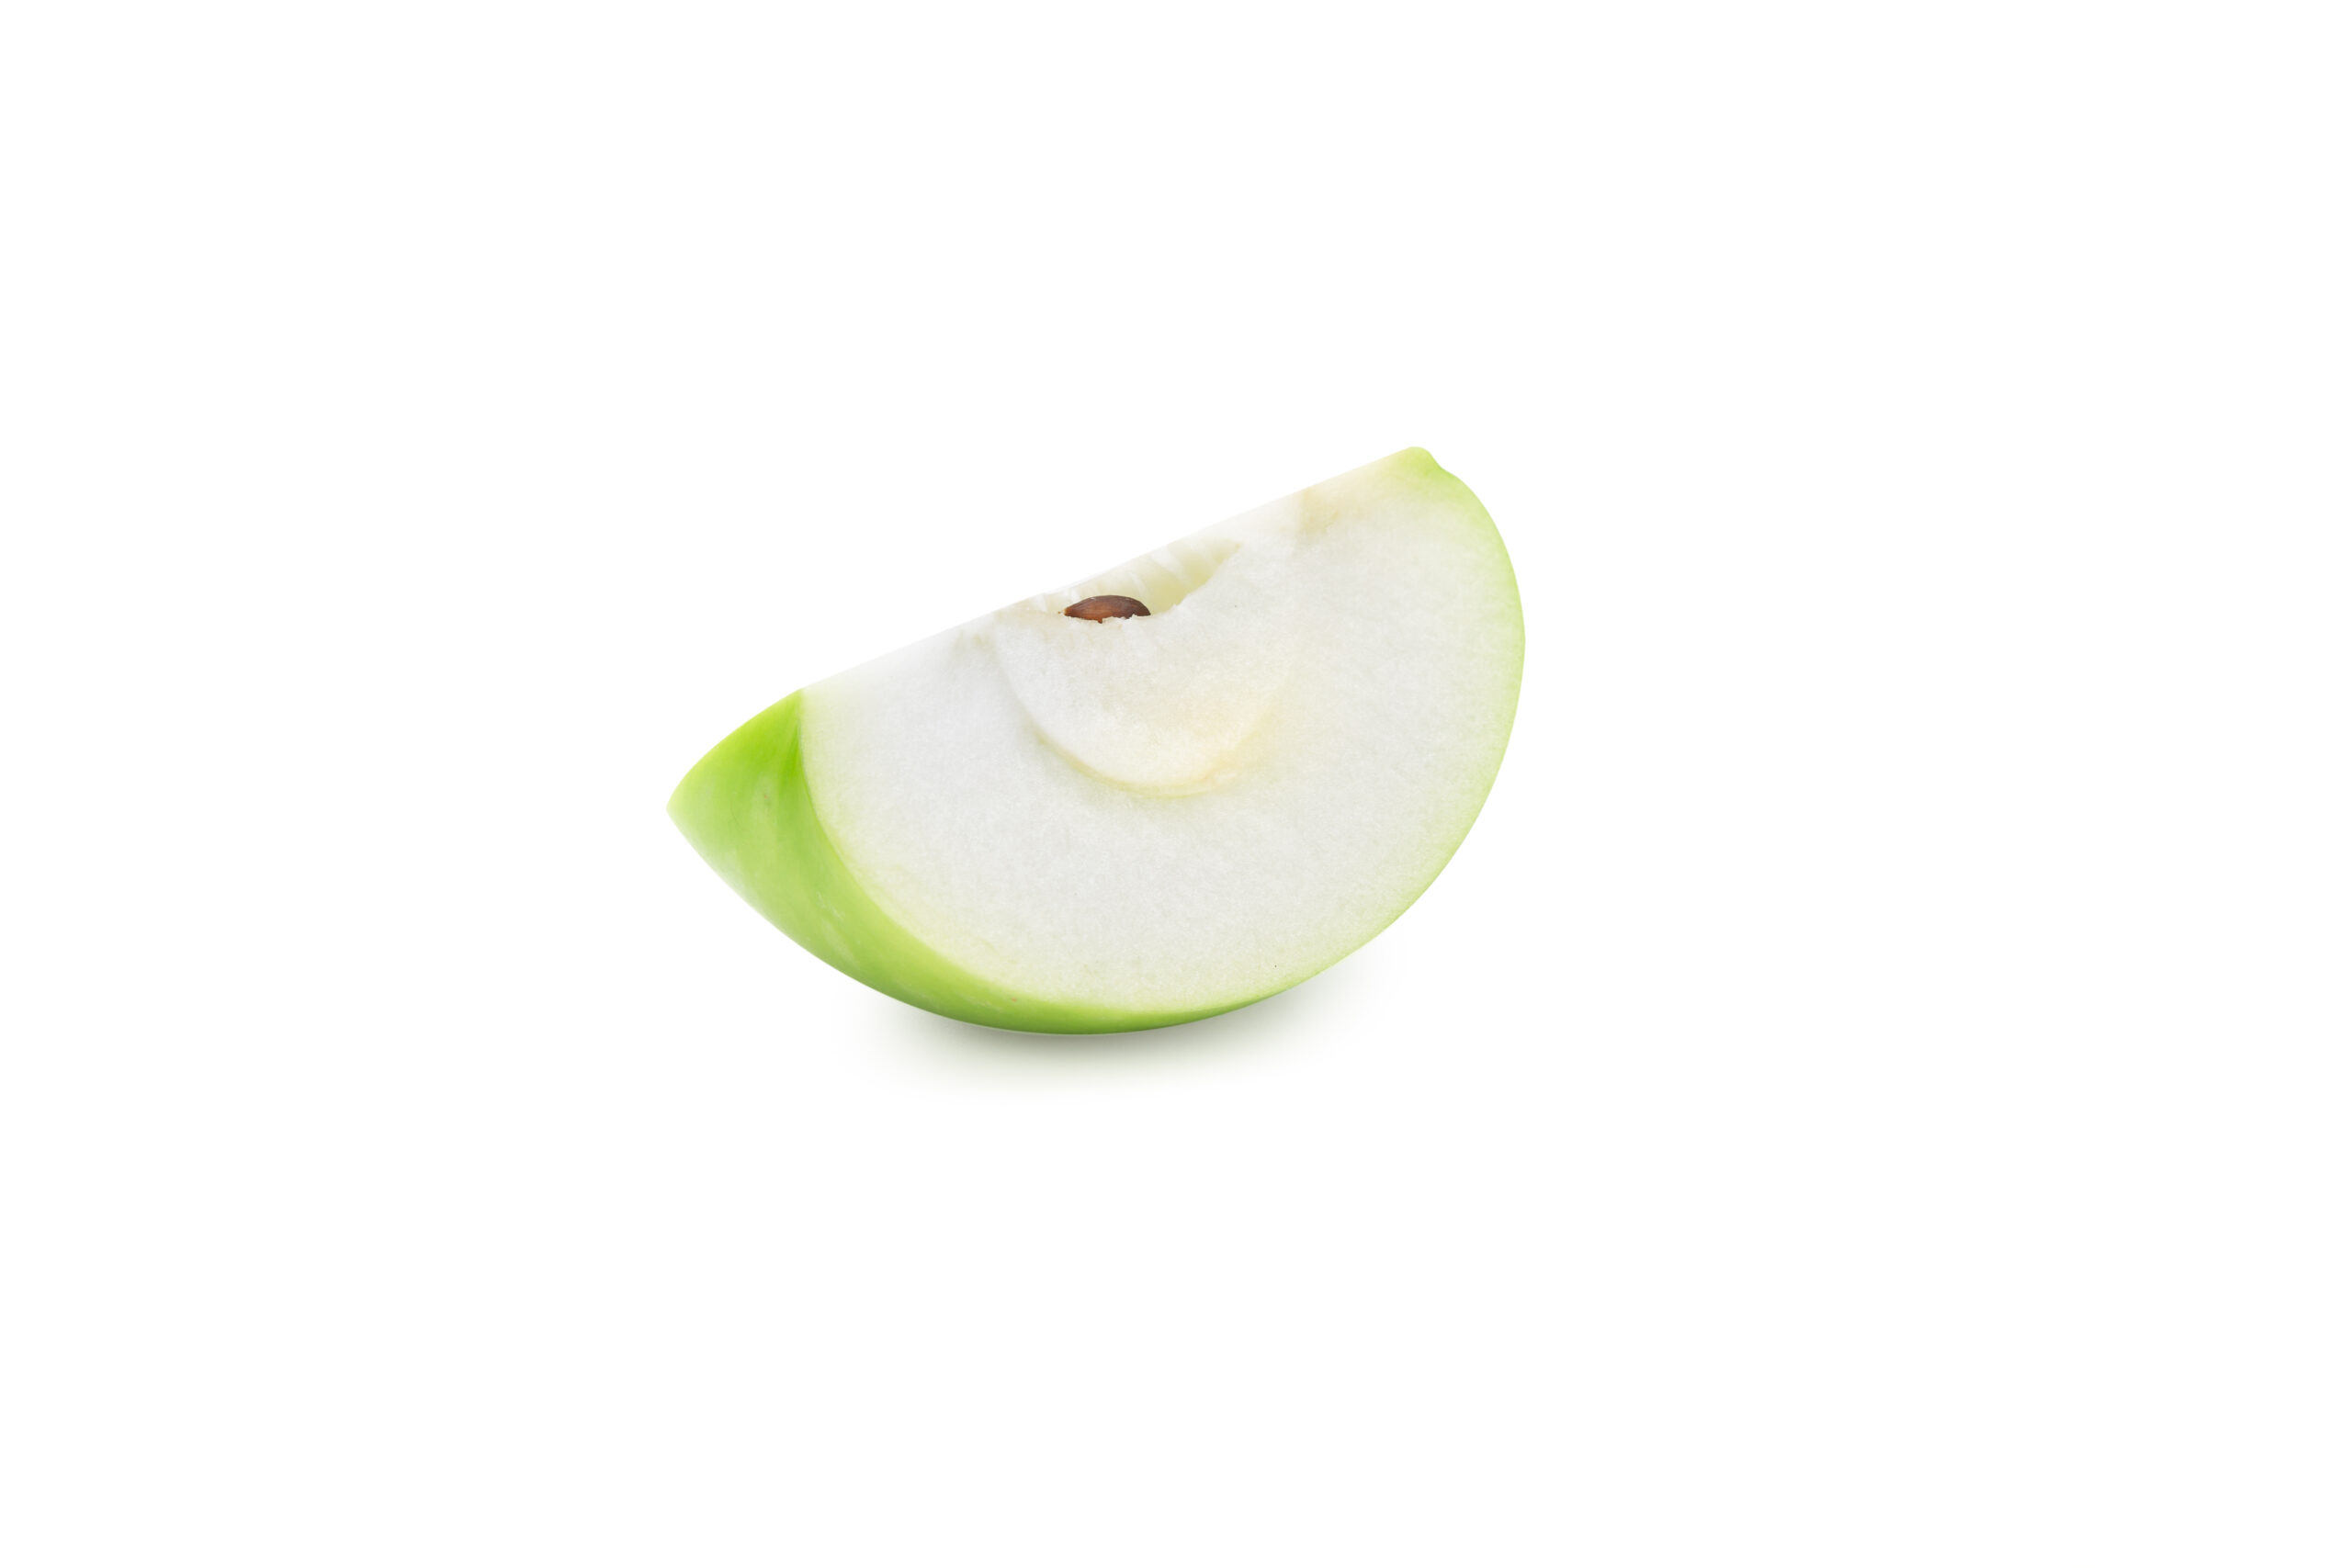
Knowing how to avoid apple turning brown can help you prep snacks, lunch boxes, or desserts in advance without losing freshness or visual appeal. The key is to slow down the natural oxidation process that starts as soon as the apple’s flesh is exposed to air.
- 1.Understand why apples turn brown
- 2.Use acidic solutions to slow browning
- 3.Use water and salt for short-term protection
- 4.Coat apples with sweet or protective layers
- 5.Limit air exposure with smart storage
- 6.Choose apple varieties that brown less
- 7.Prepare apples differently for different uses
- 8.Recognize when browned apples are still fine
- 9.Simple step-by-step method for everyday use
Understand why apples turn brown
When you cut or bite into an apple, you damage its cells and expose an enzyme called polyphenol oxidase to oxygen. This triggers oxidation, which causes the surface of the apple to gradually turn brown. The browning does not mean the apple is unsafe, but it can make it less appetizing and can slightly change the flavor and texture over time.
To keep apple slices looking fresh, your goal is to limit that contact between the enzyme, oxygen, and the apple’s natural compounds. Most effective methods either create a barrier to air, lower the pH, slow the enzyme activity, or reduce available oxygen.
Use acidic solutions to slow browning
Acidic liquids are one of the simplest and most reliable ways to prevent sliced apples from browning. The acid lowers the pH on the surface of the fruit, which slows the enzyme responsible for oxidation. You can use ingredients you already have in your kitchen, and they work quickly.
Lemon or lime juice
Lemon juice is a classic solution because it is strongly acidic and has a clean flavor that works well with apples. To avoid overpowering the fruit, dilute it rather than using it straight. Mix about one tablespoon of lemon juice with one cup of cold water, then submerge the apple slices for three to five minutes. Drain and pat them dry gently before serving or storing. Lime juice works in almost exactly the same way and can be swapped in if you prefer its flavor.
Other citrus juices and vinegars
Orange, pineapple, or grapefruit juice can also help, though they are typically less acidic than lemon or lime. These can be useful if you want a sweeter, less sharp taste. Soak the slices in pure juice or in a half-juice, half-water mixture for a few minutes, then drain. Mild vinegars, such as apple cider vinegar, can work as well, but they should be heavily diluted, as little as one teaspoon per cup of water, to avoid leaving a strong vinegar flavor.
Ascorbic acid and vitamin C products
Ascorbic acid, which is vitamin C, is commonly used in commercial fruit-preserving products because it is effective and neutral-tasting. You can buy powdered ascorbic acid or use crushed vitamin C tablets. Dissolve the powder in cold water following package instructions, or use about one crushed tablet per cup of water, then soak your apple slices briefly. There are also pre-mixed commercial fruit protectors designed specifically for this purpose that you can add to water and use in the same way.
Use water and salt for short-term protection
Plain cold water helps because it reduces the apple’s direct exposure to air, but the effect is limited once you remove the slices. Adding a very small amount of salt improves the protection by slowing the browning enzymes and slightly changing the surface environment of the fruit.
Light saltwater soak
Prepare a light brine by dissolving about half a teaspoon of fine salt in one quart (about one liter) of cold water. Stir until the salt is fully dissolved, then submerge the apple slices for three to five minutes. After soaking, drain the slices and rinse them briefly in fresh water to remove excess salt, then pat them dry. This method can keep apples presentable for several hours while leaving only a faint, often unnoticeable salt taste if you rinse them properly.
Plain water for quick serving
If you are serving apples within an hour, simply holding the slices in very cold water can be enough to reduce browning noticeably. Place the cut apples in a bowl of ice water immediately after slicing and keep them submerged until you are ready to serve. This is useful for short-term prep, such as assembling a fruit platter just before guests arrive.
Coat apples with sweet or protective layers
Coating apple slices with certain ingredients creates a physical and chemical barrier to oxygen. This can be a good choice when you already plan to serve the apples with a sweet or flavored component, such as in desserts, salads, or kids’ snacks.
Honey or sugar solutions
A light honey or sugar solution can help slow browning while adding a mild sweetness. For honey, mix about two tablespoons with one cup of warm water, let it dissolve fully, then cool the mixture before adding the apple slices. Soak for a couple of minutes, remove, and let excess liquid drip off. For sugar, you can dissolve two to three tablespoons in one cup of water and use the same process. These methods work best when the extra sweetness fits naturally into your recipe.
Syrups, juices, and glazes
If you are preparing apples for desserts, you can toss the slices in a light sugar syrup or fruit juice and refrigerate them covered. As the syrup coats the surface, it slows the contact with air. For baked dishes like pies or crisps, tossing apple slices with sugar, spices, and a bit of lemon juice before assembling usually keeps them from noticeably browning before they go into the oven.
Limit air exposure with smart storage
How you store cut apples is just as important as how you treat them. Reducing the amount of oxygen around the slices and keeping them cold both slow the browning process significantly. For most home situations, careful wrapping and refrigeration provide more than enough protection for a day or two.
Use airtight containers and wraps
Place treated apple slices in a truly airtight container, filling it as much as possible so there is minimal airspace inside. If you are using a food storage bag, press out as much air as you can before sealing. You can also arrange slices in a single layer on a plate, cover them tightly with plastic wrap so the wrap is in direct contact with the fruit, and then refrigerate. Reducing trapped air directly against the surface is the goal.
Keep apples refrigerated
Cold temperatures slow the enzyme activity that causes browning. After treating and packing your apple slices, store them in the refrigerator as soon as possible. Properly treated slices, such as those soaked in lemon water or ascorbic acid solution, usually stay attractive for most of a day in the fridge, and often up to 24 hours or slightly longer, depending on the variety and cut size.
Choose apple varieties that brown less
Some apples naturally brown more slowly than others because of differences in their enzyme levels and phenolic compounds. If you often prepare apples in advance for events or packed lunches, choosing varieties that resist browning gives you an advantage before you even start cutting.
Varieties like Honeycrisp, Ambrosia, Snapdragon, and some newer branded apples are known for slower browning. Specialty types such as Opal are specifically bred to resist browning. In contrast, classic apples like McIntosh and some very soft, aromatic types tend to brown quickly. If you are unsure, test a few slices from different varieties to see which stay visually appealing longer under your usual storage conditions.
Prepare apples differently for different uses
The best method to avoid browning depends on how long you need the apples to last and how you plan to serve them. Matching your approach to the situation avoids unnecessary steps while still keeping the fruit fresh-looking.
For school lunches and snacks
For lunch boxes that sit at room temperature for several hours, a mild acid treatment followed by airtight packing is usually sufficient. Quickly toss slices in diluted lemon juice or ascorbic acid solution, drain them, and pack them into a sealed container or a tightly closed bag. Include an ice pack if possible to keep them cool. You can also consider keeping the apple whole and using a tool that cores and slices it while allowing you to reassemble the apple and secure it with a band, so the cut surfaces are mostly held together and protected from air.
For party platters and salads
When apples will be on display for a few hours, favor methods that balance appearance and flavor. A light citrus soak, followed by thorough draining and chilling, keeps slices bright without making them taste strongly of lemon. For fruit salads, mix the apples with more acidic fruits like oranges, kiwi, or pineapple soon after cutting. Their juices help protect the apple pieces. Assembling the platter or salad close to serving time also minimizes how long the slices are exposed to the air.
For cooking and baking
For pies, crisps, or sautéed apples, a slight color change before cooking is usually not a problem, as the fruit will change color and texture in the pan or oven anyway. A quick toss in lemon juice or ascorbic acid is helpful if you expect the apples to sit a while before cooking, but you generally do not need as aggressive a treatment as you would for raw snacks. Focus instead on cutting consistent slices so they cook evenly, and keep them covered until they go into the oven.
Recognize when browned apples are still fine
Lightly browned apple slices are usually perfectly safe to eat and retain most of their nutritional value. The brown color is mainly a cosmetic issue caused by oxidation, not a sign of spoilage. You can trim off the most discolored surfaces if you prefer, or use them in smoothies, baking, or cooking where the color is less important.
Discard apple slices if they develop an off smell, a slimy texture, or visible mold. Those changes indicate actual spoilage rather than simple oxidation. When in doubt, it is safer to throw them away, especially if they have been left at room temperature for an extended period.
Simple step-by-step method for everyday use
If you want one reliable routine for most situations, you can follow this quick sequence when you need to keep cut apples from turning brown for several hours:
- Prepare a solution of one tablespoon of lemon juice or a commercial ascorbic acid mix in one cup of cold water.
- Slice the apples just before soaking and place the pieces directly into the solution.
- Let them soak for three to five minutes, then drain and pat dry with a clean towel.
- Arrange the slices in an airtight container or bag, remove as much air as practical, and seal it.
- Refrigerate until you are ready to serve or pack them.
This simple approach uses both acidity and reduced air exposure, which works well for most apple varieties and everyday uses without adding noticeable off-flavors.