Assembling furniture is much easier when you approach it methodically. With a bit of preparation and a clear process, you can put together flat-pack or ready-to-assemble furniture safely, efficiently, and without damaging parts or hardware.
Prepare before you start
Good preparation prevents most problems people encounter when assembling furniture. Begin by choosing a clear, well-lit area with enough space to lay out all the parts. If you are building a large piece such as a wardrobe, bed frame, or large shelving unit, assemble it in the room where it will be used so you do not have to maneuver it through tight doorways later.
Protect the floor with a blanket, rug, or cardboard so you do not scratch surfaces or damage furniture panels. Keep pets and young children away from the workspace to avoid losing screws or having parts stepped on. If the piece is heavy or tall, arrange for a second person to help with lifting and steadying panels during assembly.
Read and understand the instructions
Before touching any hardware, read through the full instruction manual once from start to finish. This gives you a sense of the overall build sequence and helps you spot steps that require two people or special tools. Pay attention to diagrams that show the orientation of panels, especially where there are pre-drilled holes, grooves, or finished edges that need to face a particular direction.
Check the parts list in the manual against what you received. Confirm that all panels, hardware bags, and any special fittings are present. If the manufacturer uses icons or symbols, take a moment to understand what each one means, such as “do not fully tighten yet,” “two-person lift,” or “use glue here.” Clarifying these details upfront reduces the chance of having to redo steps later.
Organize parts and hardware
Once you know you have all the components, lay out the parts in an orderly way. Place boards or panels in groups, roughly in the order they will be used. Align similar parts together and match any labels or stickers from the factory to the ones in the manual. If pieces are not labeled, lightly mark hidden edges with painter’s tape and a pencil so you can track which is which.
Open the hardware bags carefully and sort screws, bolts, dowels, and connectors into small containers such as cups or trays. Group them by type and length. Many mistakes happen because two fasteners look similar but are slightly different in size, so double-check against the diagrams before using each type. Keeping everything organized makes the build smoother and reduces the chance of missing or mixing parts.
Choose and use the right tools
Most flat-pack furniture can be assembled with a basic hand tool set. At minimum, you will typically need a Phillips screwdriver, a flathead screwdriver, and a small hammer or rubber mallet. Some furniture includes an Allen key; even if it does, using a quality hex key or bit in a screwdriver handle can give you better control and reduce hand fatigue.
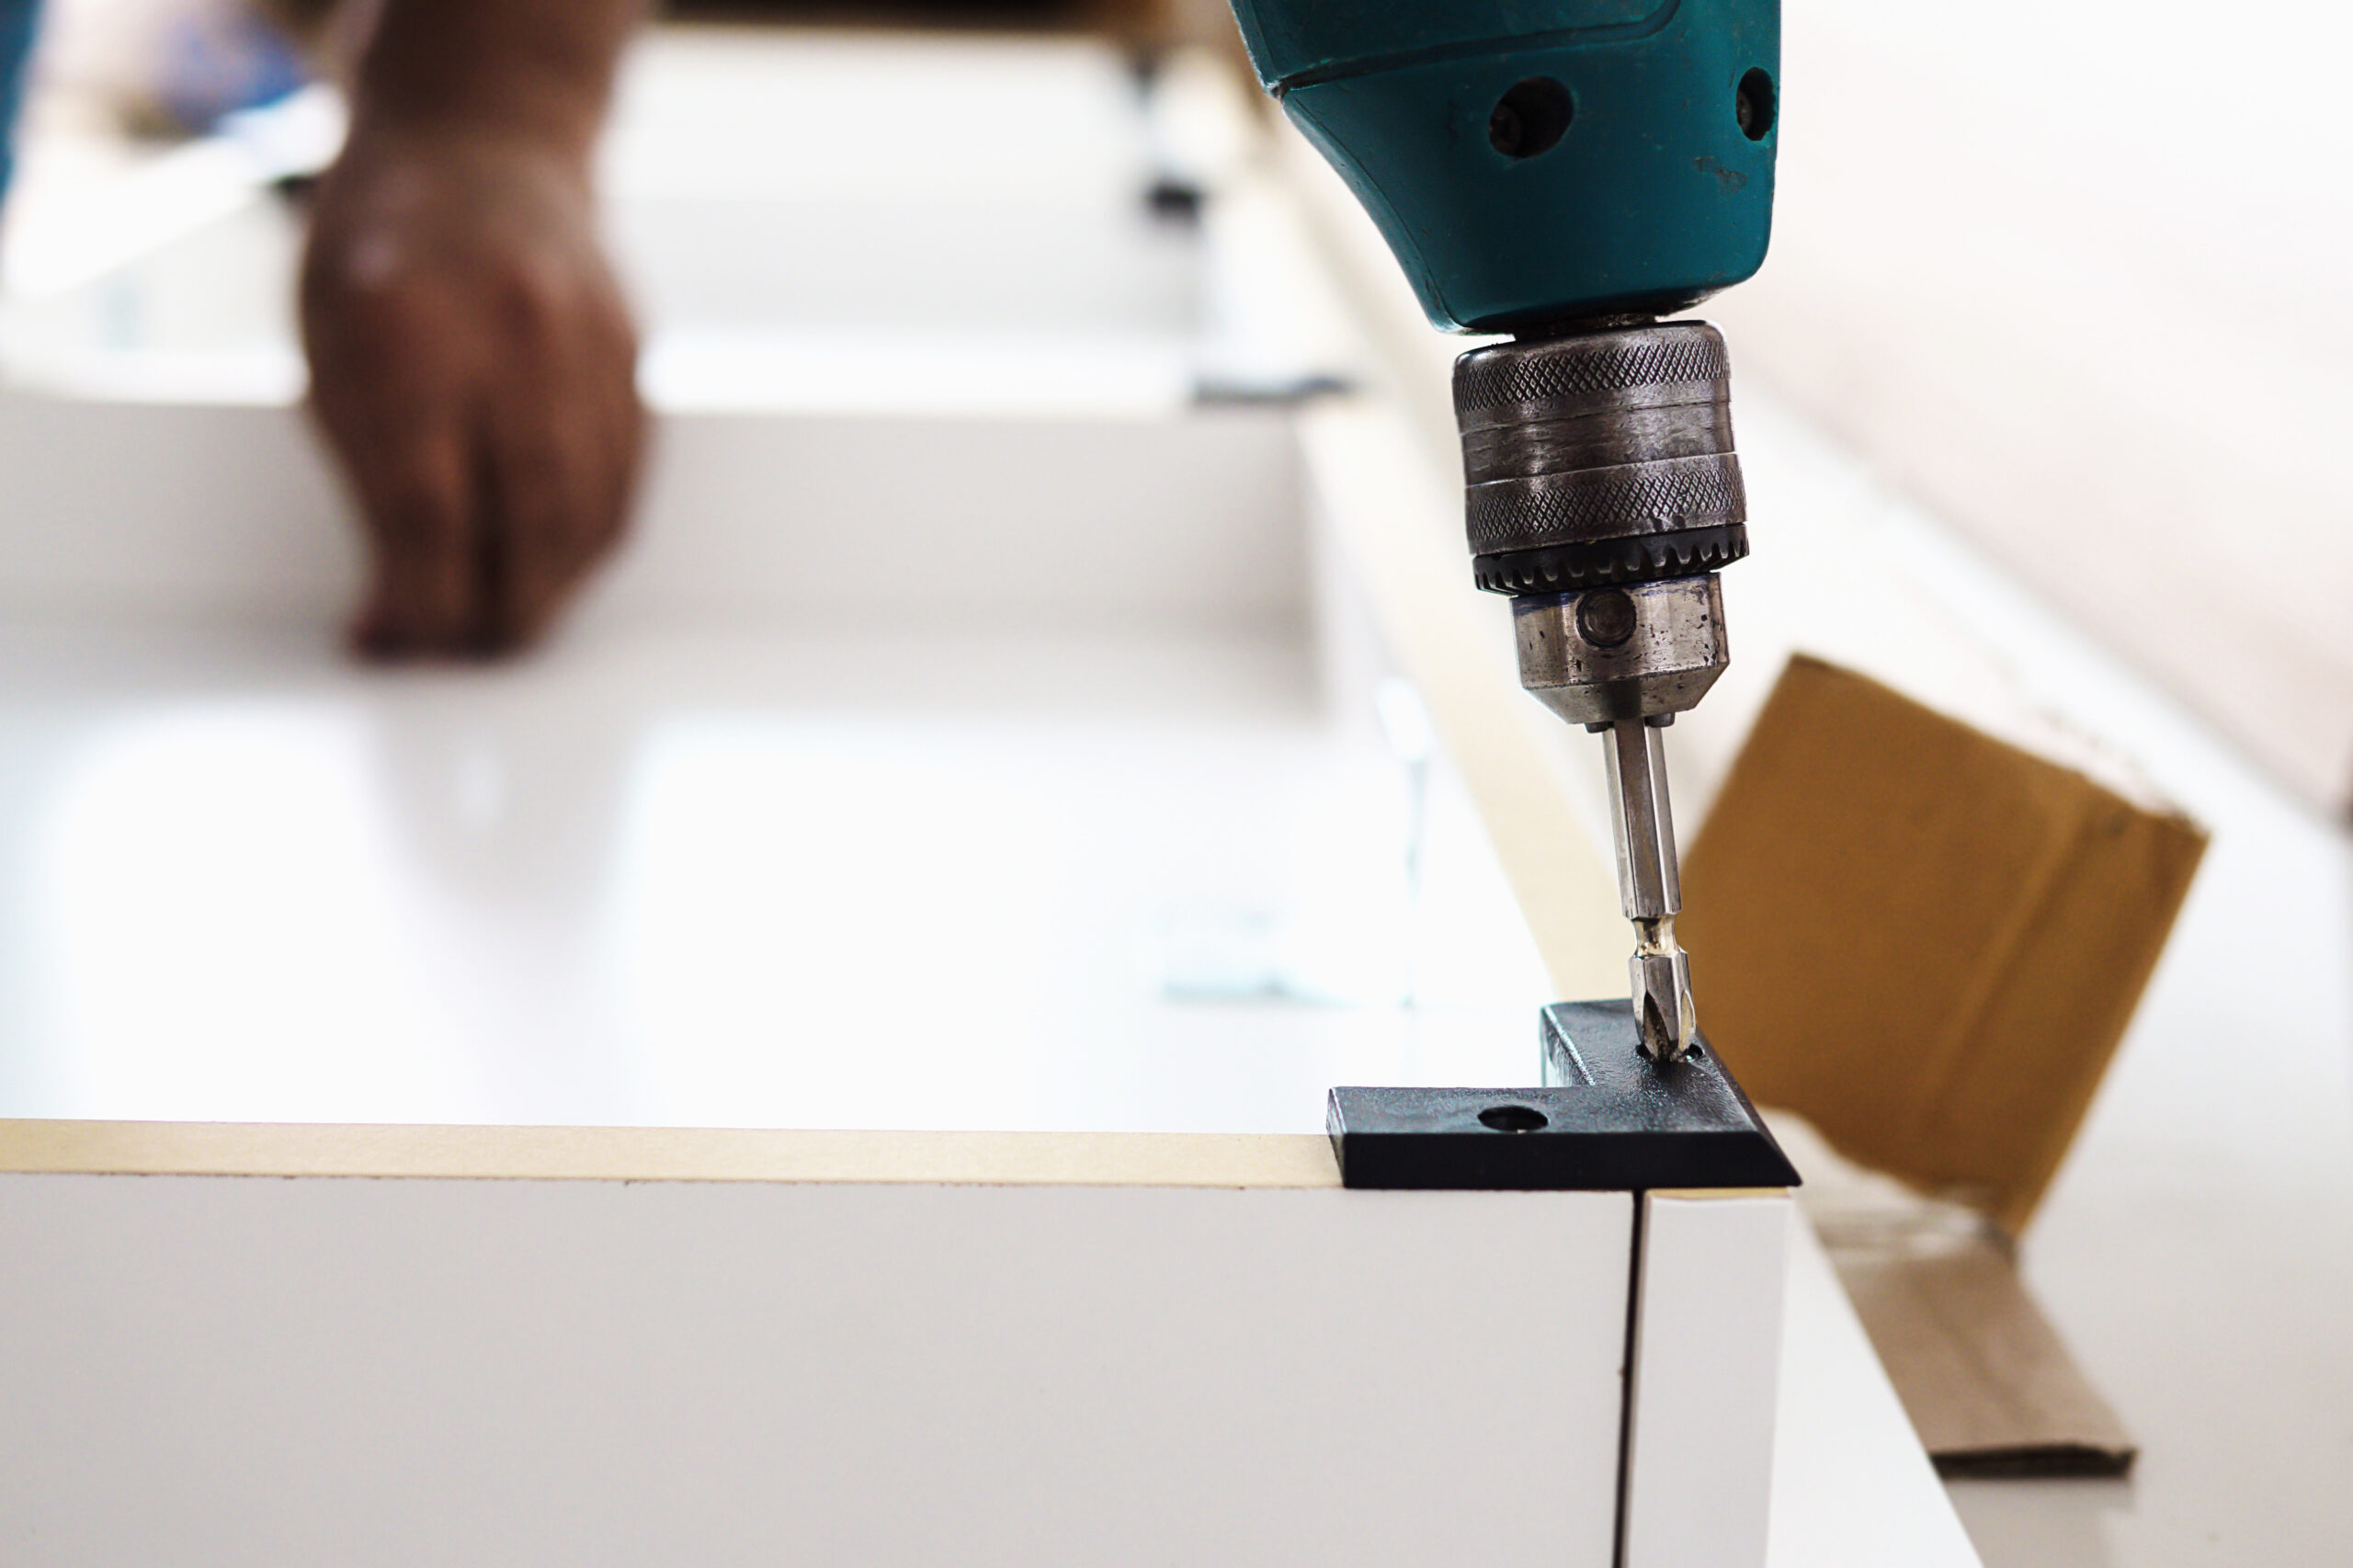
Power tools like drill drivers can speed up the work, but use them cautiously. Over-tightening with a drill can strip screw heads, damage particle board, or crush cam fittings. If you use a power driver, set it to a low torque setting and finish tightening by hand so you can feel resistance. Keep a tape measure and a small spirit level nearby to check alignments and ensure shelves and doors sit correctly.
Follow the correct assembly sequence
Start with the core structure
Begin by building the main frame or base as described in the manual. This typically involves connecting side panels, bottom panels, and support rails. Work on a soft surface so you do not chip edges. Insert wooden dowels fully into pre-drilled holes, making sure they are straight and seated firmly. When using cam lock connectors, insert the metal posts fully and orient the cam housings exactly as shown so they lock correctly when turned.
During these early steps, do not fully tighten every fastener unless the directions specify it. Leaving a small amount of play allows you to correct minor misalignments as additional panels are added. Once key structural pieces are in place and square, you can go back and tighten everything evenly.
Attach shelves, dividers, and supports
After the core structure is stable, install internal components such as shelves, dividers, and support braces. Check that shelf pegs or brackets are at matching heights on both sides so the shelf will sit level. When installing fixed shelves with screws or cams, confirm that the finished edges and any pre-drilled holes face the correct direction relative to the front of the unit.
Pay special attention to back panels or cross braces on cabinets and bookcases. Thin back panels often do more than cover the rear; they help square the entire frame. When nailing or screwing on a back panel, align the edges carefully and check that the cabinet is square by measuring diagonals. Adjust before fully fastening so doors and drawers will later align properly.
Install doors, drawers, and moving parts
Doors and drawers usually require the most fine-tuning, so take your time on these steps. For doors, loosely mount hinges to the door first, then attach them to the cabinet frame. Make sure hinges are aligned with the pre-drilled holes intended for them rather than forcing screws into nearby wood. Once installed, adjust the hinge screws to correct gaps, height differences, or misalignment between doors.
For drawers, assemble the box precisely, ensuring that sides sit at right angles and that bottom panels slide fully into grooves. When installing drawer runners or slides, measure carefully to keep them at the same height and depth on both sides. Test each drawer without contents first; it should slide smoothly without binding or wobbling. Adjust screws incrementally if the drawer tilts or rubs on the frame.
Check alignment and stability
When the furniture is fully assembled, go back over all visible joints and fasteners. Tighten screws and bolts firmly by hand, but avoid over-tightening, especially in particle board or MDF. Check that the piece sits level on the floor. If it wobbles, adjust leveling feet if provided or use shims under low corners until it is stable.
Use a level to verify that tops, shelves, and doors are straight. Make any final hinge adjustments so door gaps are consistent and doors close without rubbing. Open and close all moving parts several times to ensure nothing catches. This final inspection is your chance to fix small issues that would be more frustrating to correct once the furniture is in daily use.
Secure furniture safely
For tall or heavy furniture such as wardrobes, bookcases, and large cabinets, securing the piece to the wall is an important safety step, especially in homes with children or pets. Use the anti-tip brackets or straps provided by the manufacturer, and fix them into appropriate wall anchors rather than just drywall whenever possible.
Follow the bracket instructions carefully, marking the wall and drilling pilot holes to suit your wall type. Once secured, gently test the furniture by pulling slightly at the top to confirm it does not tip. A properly anchored piece significantly reduces the risk of accidents and also helps the furniture feel more solid in everyday use.
Troubleshooting common issues
If holes do not seem to line up, stop and confirm you have the correct panel and that it is oriented correctly. Many panels are mirrored left to right, and flipping one can solve the misalignment immediately. Compare the pattern of holes with the diagram rather than relying on assumptions about which side is “front” or “top.”
If a screw becomes stripped or a cam lock will not tighten, remove it and inspect both the hardware and the hole. Sometimes replacing a damaged screw with a spare from the kit or rotating a cam slightly can restore grip. When a panel edge splinters or chips during assembly, you can often reinforce it with wood glue and clamps, but if the damage affects structural strength, contact the manufacturer for a replacement part instead of forcing a compromised joint.
Maintaining assembled furniture
After assembly, keep the manual and any spare fittings in a labeled envelope attached to or stored inside the furniture. This makes future disassembly, moving, or adding matching pieces easier. Periodically check and retighten screws and bolts, especially on beds, chairs, and frequently used cabinets, as fasteners can loosen over time with movement and load.
Use the furniture within its intended load limits. Overloading shelves or climbing on units can stress joints and hardware well beyond what they were designed to handle. With proper assembly, occasional checks, and thoughtful use, ready-to-assemble furniture can remain sturdy and reliable for many years.