Knowing how long silicone takes to dry is essential if you want leak-free seals, clean finishes, and durable results. Drying times can vary widely depending on the product, thickness, temperature, and humidity, so it is worth understanding what affects silicone curing before you start your project.
Understanding silicone drying vs curing
When people ask how long silicone takes to dry, they usually mean how long before it can be touched, painted around, or exposed to water. Manufacturers distinguish between “skin-over” time, “tack-free” time, and “full cure” time, and each stage behaves differently.
Skin-over time is when a thin film forms on the surface, so the silicone is no longer wet or runny. Tack-free time is when you can lightly touch the sealant without it sticking to your finger. Full cure is when the material has hardened all the way through and reached its final strength and flexibility. For most household silicone sealants, skin-over happens in 10–30 minutes, tack-free in 30–60 minutes, and full cure typically takes 24 hours, sometimes up to 48 hours for thicker beads or specialty products.
Typical drying times for common silicone uses
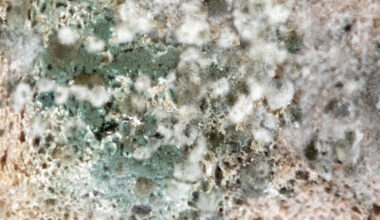
For bathroom and kitchen sealing, such as around bathtubs, showers, and sinks, most standard sanitary silicones reach a safe initial set within a few hours, but they usually need around 24 hours of curing before they can handle steady water exposure. If you put the fixture back into heavy use too quickly, you risk trapping moisture against uncured silicone, which can lead to weak adhesion or mildew problems later.
For windows, exterior joints, and general construction, many neutral-cure or weatherproof silicones behave similarly, but because these joints are often deeper or more exposed, full cure can stretch closer to 24–48 hours. In cooler or very humid conditions, outdoor products sometimes need longer, and manufacturers often print a curing rate per millimeter of thickness on the cartridge.
For aquariums, structural glazing, or high-performance sealing, cure time is usually longer and more critical. These applications involve deep beads and significant load or water pressure, so waiting the full recommended cure period, often at least 48–72 hours, before filling with water or loading the joint is important for safety and durability.
Factors that affect silicone drying time
Silicone cures through a chemical reaction with moisture in the air, so the environment around the bead matters as much as the product label. Temperature, humidity, bead thickness, and airflow all influence how long it takes to dry and cure completely.
Temperature and humidity
Most silicone sealants are formulated to cure best at typical indoor room conditions, roughly 18–25°C (65–77°F). Within this range, you can expect the curing speed described on the packaging. If it is significantly colder, the reaction slows and cure time extends, sometimes by many hours. If it is very hot and dry, a skin can form quickly, but the interior may still be soft for longer than you expect. Moderate humidity helps curing, because silicone needs moisture to react. Very dry air can actually slow curing, especially in deep joints, while extremely high humidity may accelerate the surface cure but leave thicker sections slower to harden fully.
Bead thickness and joint design
The thicker the silicone bead, the longer it takes to cure to the center. A thin, neatly tooled bead around a sink might cure through within 24 hours, whereas a deep structural joint could take several days. Manufacturers sometimes list a curing rate such as 2–3 mm per 24 hours at standard conditions. That means a 6 mm bead may need roughly three days to cure completely. If you are sealing gaps deeper than about 10–12 mm, using a backer rod to control depth and avoid a very thick mass of silicone can help the material cure more consistently and perform better.
Ventilation and airflow
Good ventilation helps silicone cure more evenly because fresh air provides a steady supply of moisture and removes curing byproducts. In a tightly closed bathroom or a shower cubicle with the door shut, silicone can take longer to cure. Opening windows, leaving shower doors ajar, and running an extractor fan on a low setting can all help. Avoid directing strong, hot air directly at fresh silicone, as this can cause surface skinning long before the body of the bead has cured, sometimes leading to small voids or poor adhesion underneath.
Product type and formulation
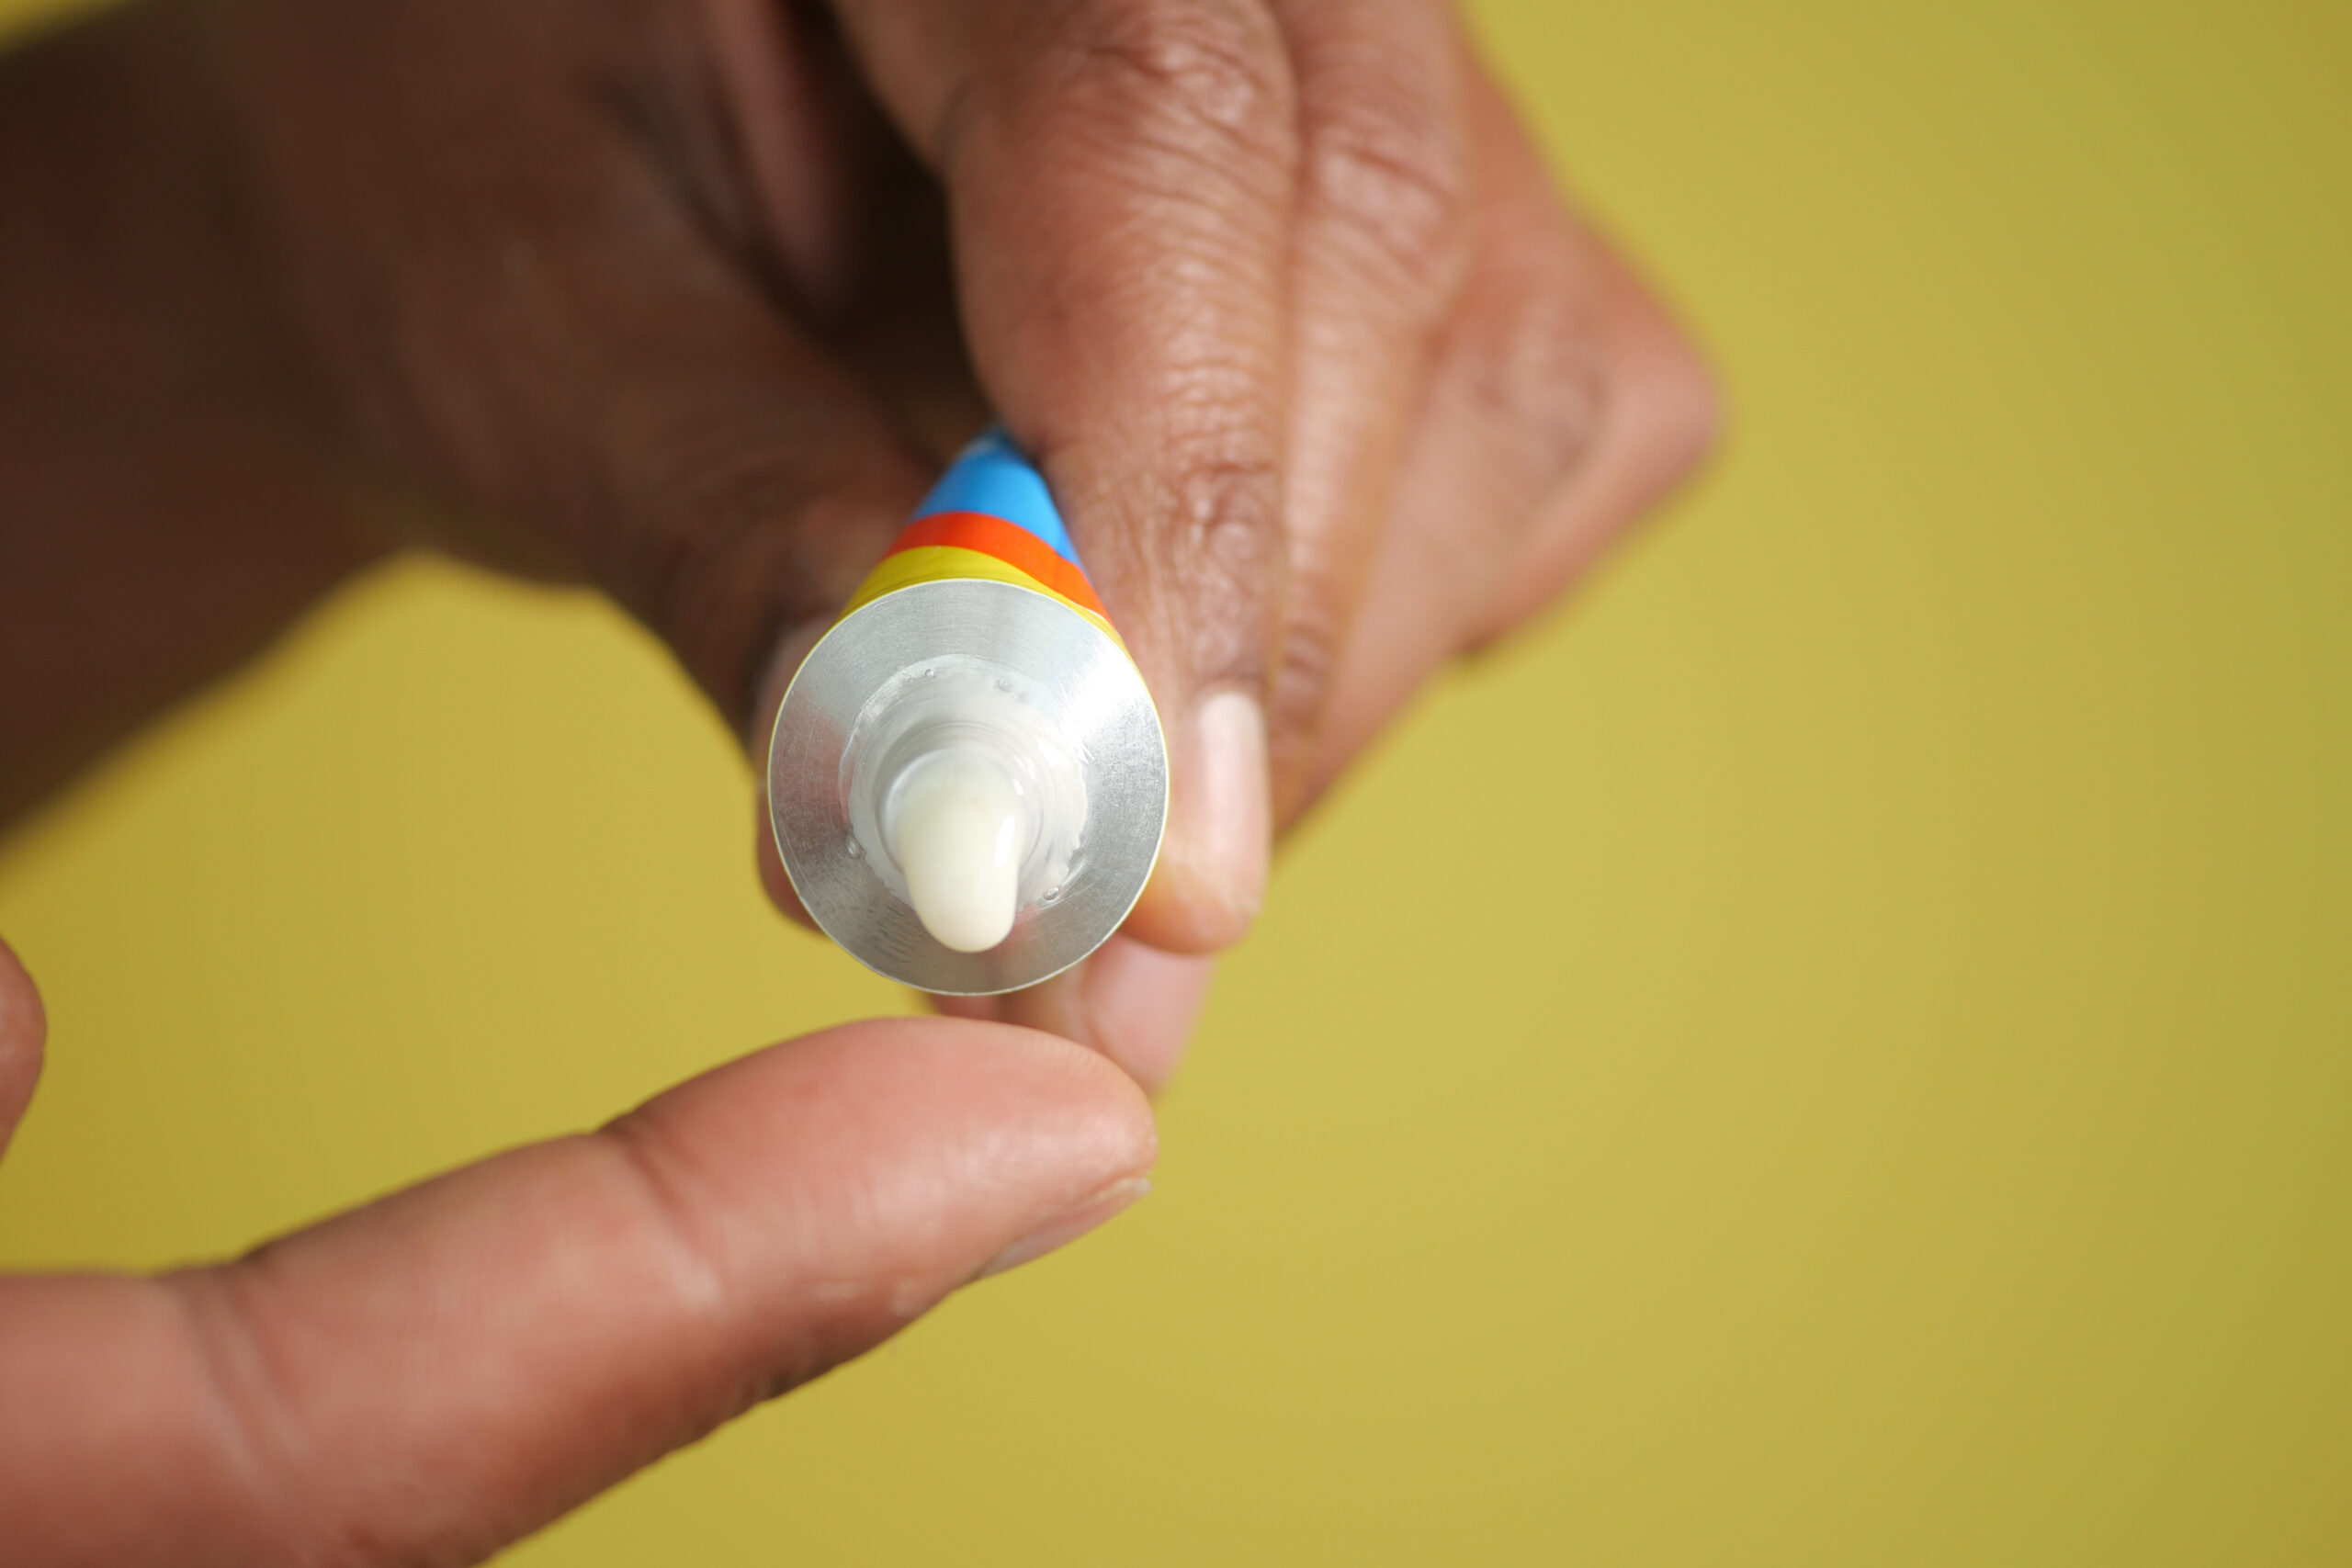
Different silicone products are formulated for different jobs and curing speeds. Standard acetic-cure (sometimes called acetoxy) silicones, which you can recognize by a vinegar-like smell, are common for kitchens and bathrooms and generally cure relatively quickly. Neutral-cure silicones are often used around metals, stone, and glazing where the acidic version might cause corrosion or staining. Neutral-cure products sometimes cure more slowly, particularly in thick sections, so checking the technical data sheet or the small print on the tube is important.
There are also fast-cure silicones marketed for time-sensitive work. These may reach a serviceable state in a few hours and fully cure in under 24 hours. While fast-cure products can be convenient, they also give you less working time to tool and smooth the bead, so they are best used when you are confident in your application technique.
How to tell if silicone is dry enough
To check whether silicone has dried enough for the next step of your project, you should rely on both time and touch, guided by the manufacturer’s instructions. Start by checking the stated skin-over and cure times on the cartridge. If you are still within the minimum curing window, assume the silicone is not ready for full use, even if the surface feels firm.
Once the minimum time has passed, you can lightly touch an inconspicuous area with a clean fingertip or a piece of plastic. If it no longer feels tacky or leaves residue, it has likely reached tack-free status. That usually means you can remove masking tape, paint adjacent surfaces (if the product is paintable), or carefully handle the area. However, being tack-free does not mean it has cured all the way through, so you should still avoid exposing fresh seals to heavy water contact, cleaning chemicals, or mechanical stress until the full cure time has elapsed.
For deeper or critical joints, gently pressing the bead from the side can give you a sense of firmness. If it deforms easily or feels soft beneath the surface, give it more time. When in doubt, it is safer to allow an extra 12–24 hours rather than risk a failed seal or the need to strip and redo the work.
How to speed up silicone curing safely
While you cannot ignore the basic chemistry of silicone curing, you can create better conditions to help it reach full strength as efficiently as possible. The key is to improve the environment without overheating the sealant or trapping moisture.
Keeping the room at a stable, moderate temperature within the recommended range and ensuring gentle air movement are two of the most effective steps. A small fan circulating air in the room, but not pointing directly at the bead, can refresh the air around the joint and help carry away curing byproducts. In very dry interiors, a humidifier in the room can actually help, as silicone uses ambient moisture to cure. Aim for balanced humidity rather than extremes, and avoid spraying or directly wetting the fresh sealant, which can disturb the surface.
If you have control over when you schedule the work, choosing a day with mild weather and leaving enough time before you need to use the area will make everything easier. For example, resealing a bath in the morning and leaving it unused overnight, or doing exterior sealing when temperatures are not near freezing, reduces the temptation to rush the process.
Practical guidelines for using silicone
Planning around cure time is often the difference between a tidy, durable seal and a frustrating repair. Before you start, read the instructions on the cartridge for specific drying and curing times, including any temperature or humidity assumptions. Clear a window of time when you can keep the joint undisturbed, avoiding showers, cleaning, or mechanical stress during that period. If other trades are involved, such as tilers or painters, coordinate so nobody is working on top of fresh silicone.
Apply silicone in controlled, consistent beads rather than overfilling gaps, and tool the joint promptly so the sealant adheres well to the sides and has an even depth. Removing masking tape while the silicone is still soft, usually shortly after tooling, helps you achieve crisp edges without tearing the bead once it has started to cure. After that, respect the cure time, especially for seals exposed to standing water or structural loads. It can be tempting to “test” a new seal early, but letting silicone cure fully gives you a more reliable, longer-lasting result.
FAQ
How long before I can shower after applying silicone?
For most bathroom silicones, it is best to wait at least 24 hours before using the shower, and up to 48 hours if the bead is thick, the room is cool, or the manufacturer recommends a longer cure time.
Can I paint over silicone once it feels dry?
Most silicones are not paintable, even when fully cured, and paint will not adhere properly. If you are using a paintable sealant, wait until the product has fully cured according to the instructions, not just until it feels dry to the touch.
What happens if silicone gets wet before it cures?
If silicone is exposed to significant water too early, it can lose adhesion, develop voids, or cure with a weak, patchy structure. In many cases the joint will need to be removed and resealed to restore proper performance.
Why is my silicone still soft after 24 hours?
Silicone can stay soft if it was applied in a very thick bead, if the temperature is low, the air is very dry, or if the product is near its expiry date. Improving room conditions and allowing extra time often helps, but if it remains soft for several days, it may need to be removed and replaced.