
Understanding how long epoxy takes to dry is essential if you want strong, clear, and durable results. Dry time affects everything from when you can remove tape to when you can sand, recoat, or put a surface back into use. The exact timing depends on the product, conditions, and how it is applied, but you can predict and control it with a few practical guidelines.
Key stages of epoxy drying and curing
When people ask how long epoxy takes to dry, they usually mean several different stages. Epoxy does not just switch from wet to fully cured. Instead, it passes through a few predictable phases that manufacturers often describe on the label.
Tack-free or touch-dry stage
The tack-free stage is when the epoxy surface is no longer sticky to a light touch. You should not leave fingerprints or pull up material on your glove, but the coating is still soft underneath. For many common epoxies, this happens within 4 to 12 hours at around 70°F (21°C). At this point you can usually remove painter’s tape and protect the surface from dust, but you should not sand, load, or stress it.
Recoat window
The recoat window is the period when you can apply another layer without sanding, because the previous layer is still chemically active enough to bond. This often starts once the surface is tack-free and lasts for several hours up to a day, depending on the system. If you miss that window, you typically need to scuff-sand and clean the surface before applying another layer to ensure proper adhesion.
Initial cure or light use
Initial cure is when the epoxy is hard enough for light handling. You may be able to carefully move a project, remove it from a mold, or perform light sanding. This point commonly falls around 12 to 24 hours after application for many room-temperature-curing systems. The epoxy will feel hard, but it has not reached its full mechanical strength or chemical resistance, so you should still avoid heavy loads, impact, or harsh chemicals.
Full cure
Full cure is when the epoxy has completed its chemical crosslinking and reached its design strength, hardness, and resistance. This can take anywhere from 3 to 7 days at room temperature for many general-purpose and coating epoxies. Industrial or high-performance formulations may specify up to 7 to 14 days, sometimes with an elevated temperature post-cure. Heavy loads, hot objects, and long-term exposure to water or chemicals should wait until this stage.
Main factors that affect epoxy drying time
Epoxy dry times printed on a label assume specific conditions. Small changes in temperature, humidity, and mix ratio can speed up or slow down the entire curing process. Understanding these factors helps you adjust your expectations and avoid common problems.
Temperature
Epoxy cures faster in warmth and slower in cold. Most products are rated at about 70°F (21°C). If your workspace is 10°F cooler, the cure can easily take twice as long. At around 50°F (10°C), many standard epoxies thicken and may barely cure at all. Conversely, working in a hot environment can shorten pot life and make the epoxy set so fast that you lose working time. For reliable results, try to keep the epoxy, substrate, and air temperature within the recommended range printed on the product data sheet.
Humidity and ventilation
Humidity mainly affects epoxy coatings used on floors, counters, and wood. Excessive moisture in the air or substrate can cause surface blush, cloudiness, or a slightly greasy film, which feels like the epoxy is not drying properly. While epoxy does not “dry” by water evaporation, poor ventilation can allow solvents or amine odors to linger and give the impression of slow cure. A stable, moderate humidity environment with gentle air movement is ideal. Avoid using heaters that blow directly on the surface, as they can stir up dust.
Mix ratio and blending quality
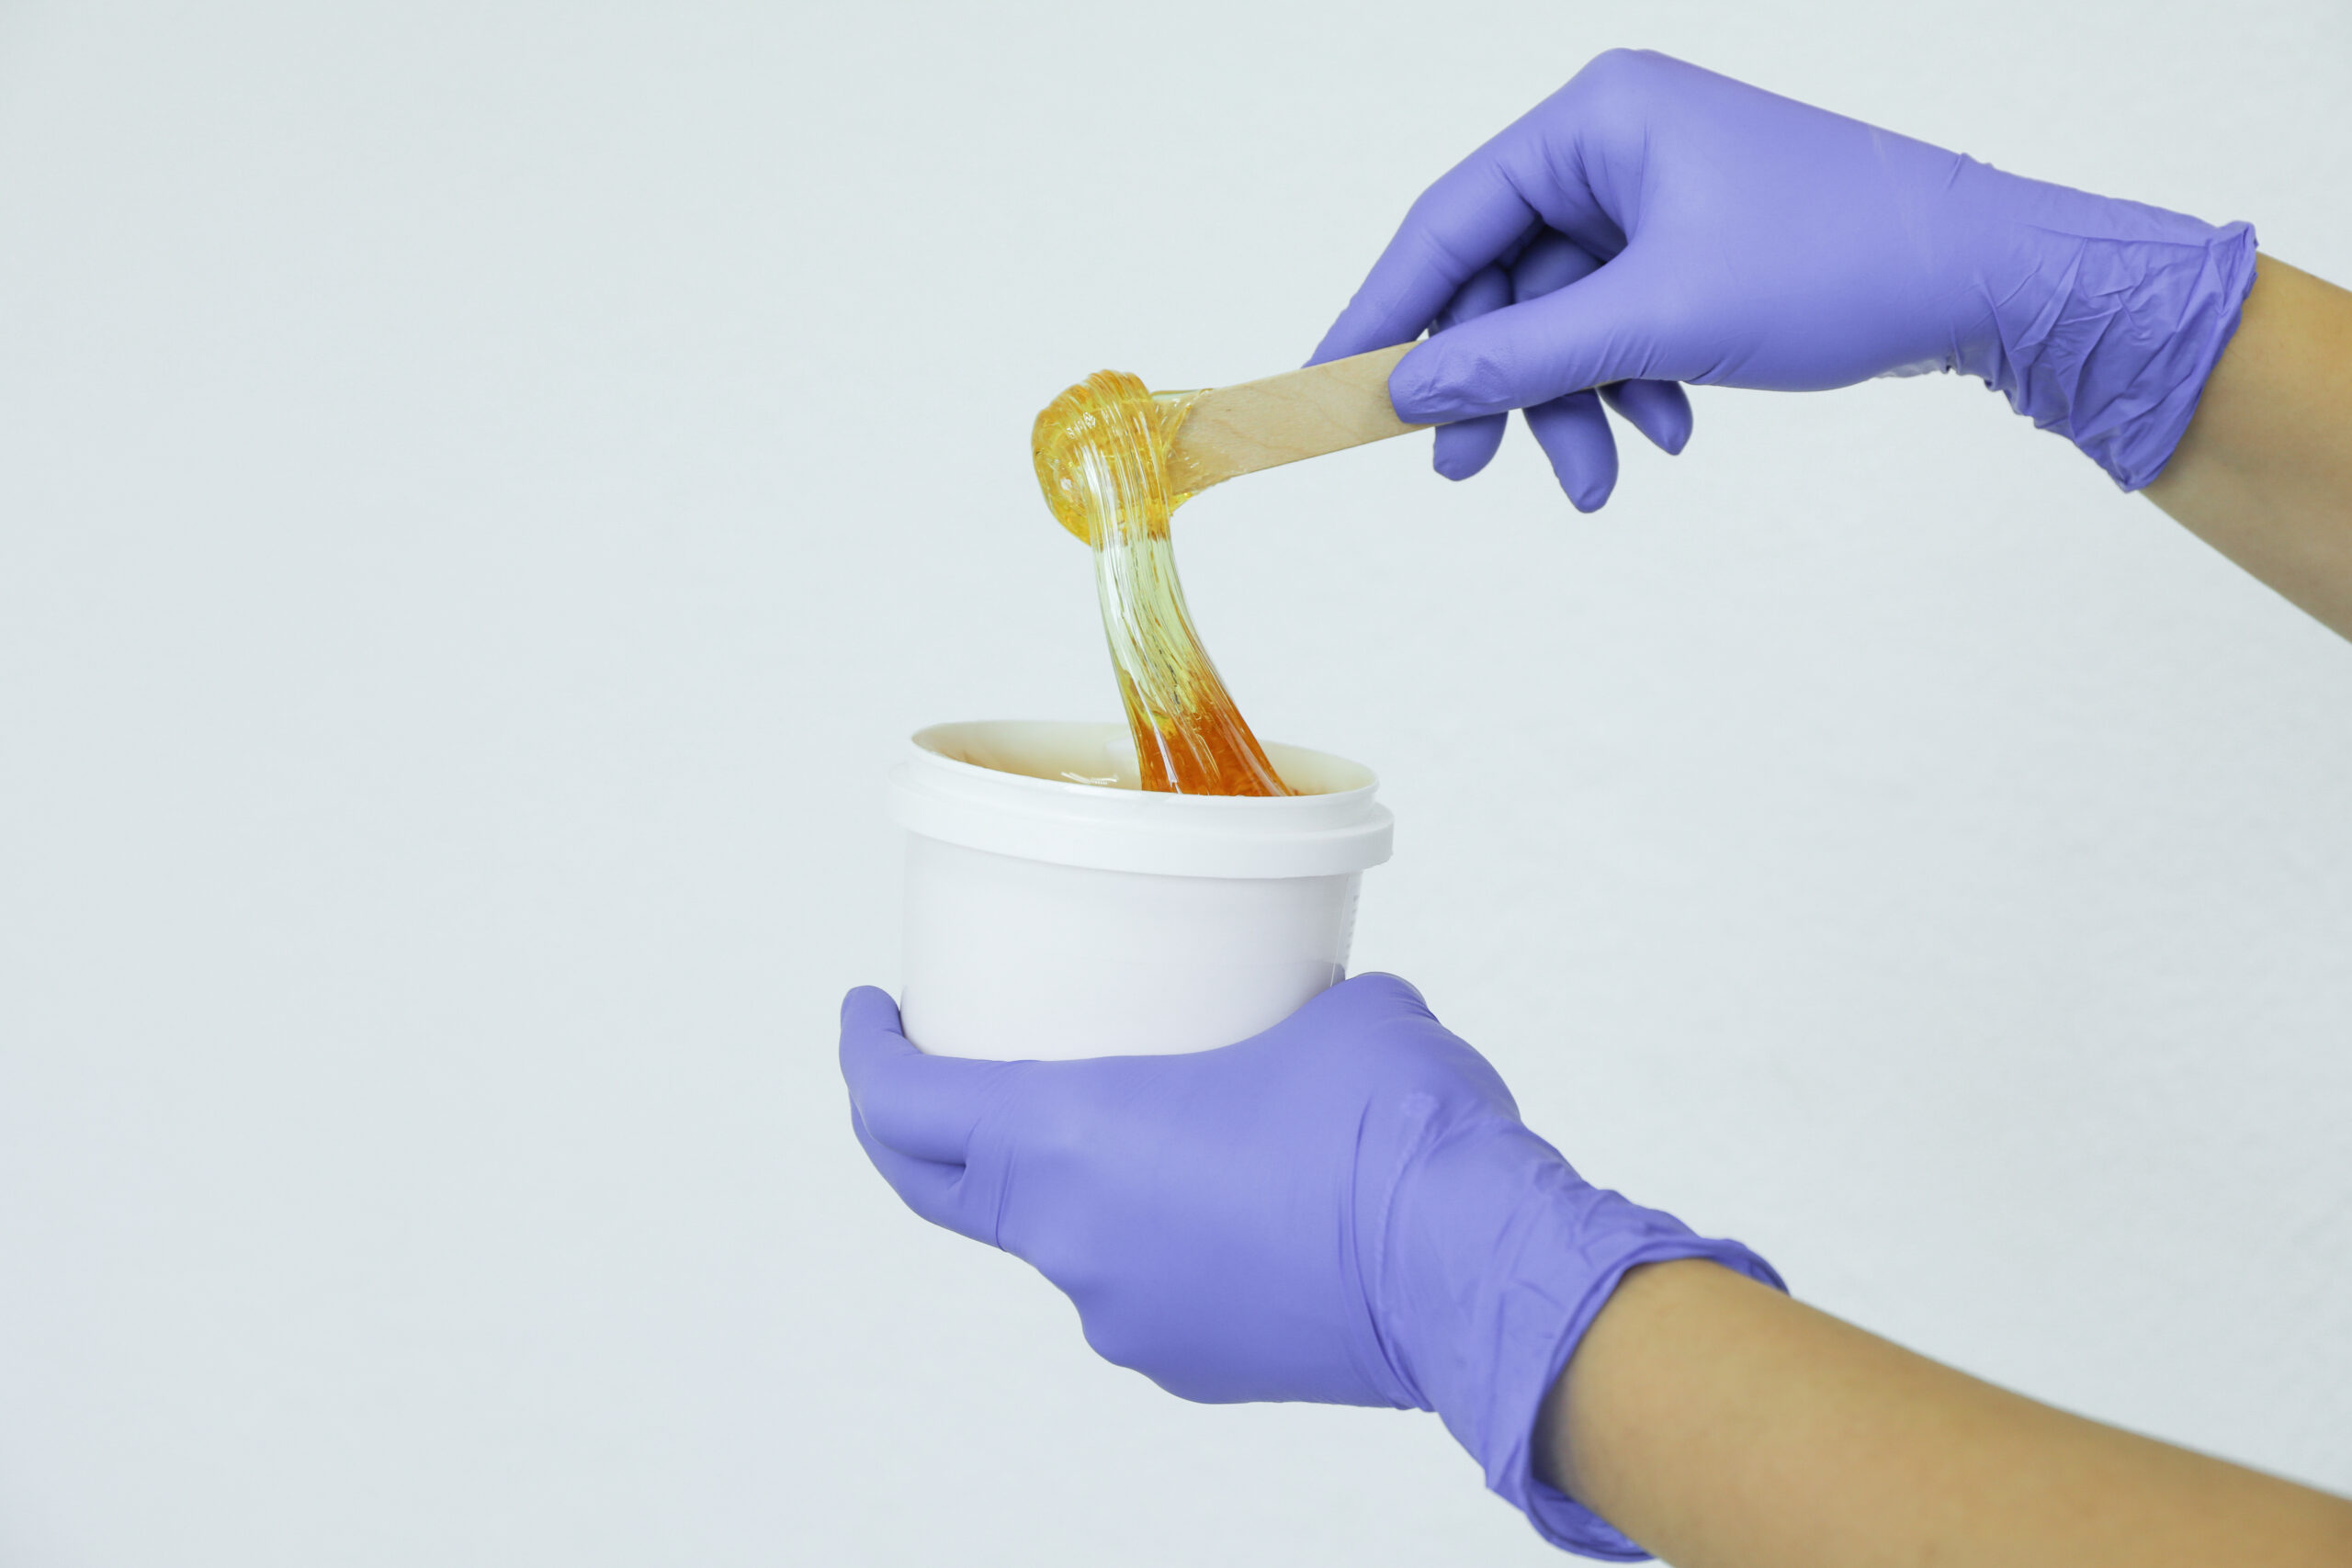
Two-part epoxy resins are designed to cure at a specific resin-to-hardener ratio. If you use too much hardener to “speed things up,” you usually end up with soft or sticky spots that never fully cure. Under-hardening has a similar effect. Proper measurement by volume or weight, using the ratio provided by the manufacturer, is non-negotiable. Mixing thoroughly is equally important. Scrape the sides and bottom of the mixing container and combine until the mixture is uniform. Unmixed resin or hardener pockets will stay wet and create soft or glossy patches long after the rest has hardened.
Layer thickness and mass
Epoxy curing is exothermic, which means it generates heat as it reacts. A thin coating laid out over a wide surface area cools quickly, so it usually takes longer to reach hardness than a small, thicker casting. At the same time, very thick pours can overheat internally, leading to cracking, yellowing, or bubbles, even if the surface seems to have cured. Many deep-pour epoxies specify a maximum pour depth per layer. Respecting those limits is critical to getting an even cure without damage.
Substrate and environment
The material you apply epoxy to can help or slow the cure. Cold concrete, stone, or metal can draw heat out of the epoxy and extend dry times. Porous materials like bare wood can absorb resin and affect the apparent surface cure. Dust, oil, or contaminants can also interfere with surface hardening. Preparing a clean, dry, and temperature-stable substrate gives you more predictable cure behavior.
Typical dry times by epoxy type
Different categories of epoxy are formulated for specific uses, so their drying times can vary. Always defer to the technical data sheet for the product in front of you, but these ranges provide realistic expectations.
Epoxy floor coatings
Two-part epoxy floor systems for garages, basements, and commercial spaces commonly reach a tack-free state within 8 to 12 hours at about 70°F (21°C). Light foot traffic is often allowed after 24 hours, with full mechanical and chemical resistance developing in 3 to 7 days. Rolling toolboxes, parking vehicles, or exposing the floor to hot tires generally should wait until the manufacturer’s full cure time has passed.
Countertop and bar-top epoxies
Clear coating epoxies used on countertops, bars, and tables usually set up quickly on the surface, often becoming dust-free within 4 to 8 hours. Light handling or cautious use can be possible after 24 hours, but hot cookware, cutting, or heavy objects should be avoided until at least 3 days, and often 5 to 7 days, depending on the product. Many of the issues people call “soft spots” are situations where the epoxy simply has not been allowed to reach full cure before regular use.
Deep-pour casting epoxies
Casting epoxies designed for river tables, thick art pieces, and molds are formulated to cure more slowly so they do not overheat in large masses. Tack-free times of 12 to 24 hours are common, with demolding or careful handling recommended after 24 to 72 hours. Full internal cure can take a week or more, especially for large pours. Sanding, machining, or planing too early can clog abrasives and damage the piece because the core may still be slightly soft.
Marine and structural epoxies
Epoxies used in boatbuilding, laminating, and structural bonding are often rated for 6 to 12 hours to reach a green or initial cure, where you can perform secondary bonding or fairing. Full structural strength may require 3 to 7 days at room temperature. In some systems, post-curing at elevated temperatures improves strength and heat resistance. In marine work, it is particularly important not to load or launch a structure until it has reached the cure state specified in the build manual.
How to plan your project around epoxy dry time
Successful epoxy work starts with timing. Before you mix, map out what needs to happen during the pot life, how long you can wait before recoating, and when the project can be handled or put back into service. Rushing any of these stages is a common cause of surface defects and weak bonds.
Read and interpret product data
Every quality epoxy system comes with a technical data sheet or at least detailed directions on the packaging. Look for key terms such as “pot life,” “tack-free time,” “recoat window,” “light service,” and “full cure.” These are usually listed for a standard temperature. If your environment is cooler, plan for it to take longer. Warmer conditions shorten working time, so be prepared to work faster or mix smaller batches.
Stage your workspace and materials
Having your workspace ready before you start mixing can prevent unnecessary delays that eat into your pot life. Set up drop cloths, tape edges, lay out rollers or spreaders, and pre-cut any reinforcing fabrics or fillers. If possible, warm the room and materials to the recommended range several hours ahead of time. Sudden heating during the cure can cause air in porous substrates to expand and form bubbles in the epoxy.
Allow enough time between steps
Plan your project with realistic gaps between stages. For example, for a garage floor, you might allocate one day for surface prep, one day for the primer and color coat to reach initial cure, and another day for the clear coat, followed by several days of no vehicle traffic. For a countertop, you might schedule the pour one day, light handling the next, and installation or heavy use several days later. Building these pauses into your schedule avoids the temptation to handle or load the surface prematurely.
How to speed up epoxy drying safely
While you cannot change the underlying chemistry, you can create conditions that help epoxy reach its cure more efficiently. The key is to work within the limits recommended by the manufacturer rather than improvising shortcuts that compromise performance.
Control temperature carefully
If your epoxy is curing in a cool space, raising the temperature into the ideal range is the single most effective way to shorten dry time. Use safe, indirect heat sources such as space heaters or radiant panels to warm the entire room and substrate evenly. Aim for a gradual change rather than blasting hot air at the surface. Avoid exceeding the product’s maximum recommended temperature, especially with clear coatings, which can yellow if overheated.
Use the appropriate hardener speed
Some epoxy systems, especially in marine and structural lines, offer different hardeners for slow, medium, or fast cure. Choosing a faster hardener suited to your ambient temperature can reduce cure times without sacrificing properties. It is important to stay within the same product family; you should not mix hardeners from different brands or systems, and you should still respect the specified mix ratio and pot life.
Choose thin layers instead of heavy pours
Applying epoxy in thinner coats helps it cure more evenly and predictably. Multiple thin coats may seem slower, but they often reach a usable state faster and with fewer defects than one very thick pour that struggles with heat buildup. For deep casting, follow the maximum pour depth recommendations and allow each layer to reach its recommended cure state before adding the next.
How to troubleshoot epoxy that is not drying
Sometimes epoxy stays sticky, soft, or rubbery long after the expected dry time. Before you strip everything off, it helps to identify whether the cure is simply slow due to conditions or if a more fundamental problem exists, such as an incorrect mix ratio.
Check time and conditions first
Confirm how long it has actually been since application, and measure the current temperature in the space and at the surface. If you applied the epoxy in a cool room or if the temperature dropped overnight, it may just be curing slowly. In that case, gradually warming the area to the recommended range and waiting another 24 to 48 hours is often enough to bring a borderline cure to completion.
Evaluate for mixing or ratio errors
If large areas remain liquid, smeary, or gummy while other sections are hard, incomplete mixing is likely. If the entire batch feels rubbery or never fully hardens even after several days in proper conditions, the mix ratio may have been off. Unfortunately, there is no additive you can apply after the fact to force improperly mixed epoxy to cure. In most cases, you need to remove the uncured material mechanically with scrapers and solvents approved by the manufacturer, then recoat with correctly mixed epoxy on a clean, prepared surface.
Dealing with surface tack or amine blush
Sometimes a cured epoxy surface feels slightly tacky or waxy, even though the underlying layer is hard. This can be amine blush, a harmless but annoying surface film caused by humidity and the hardener chemistry. To address it, wait for the underlying epoxy to reach a firm cure, then wash the surface with warm water and a mild detergent using a non-abrasive pad. Rinse thoroughly, allow it to dry, and then sand lightly if you plan to recoat. Do not assume that surface tack always means the entire layer has failed; check hardness beneath before deciding on removal.
Practical timelines for common projects
Every brand is different, but the following general timelines illustrate how to think about “dry” versus “ready for full use” when planning everyday epoxy projects. Always adjust according to your product’s instructions and your actual conditions.
Garage floor epoxy example
A typical garage floor system might allow walking after about 24 hours at 70°F (21°C) but require 3 to 5 days before you park a vehicle. During that curing period, it is wise to keep the area dust-free and avoid dragging heavy items across the surface. If your space is cooler, extend those intervals, sometimes doubling them in near-minimum temperatures.
Tabletop or bar-top epoxy example
For a bar top or dining table, the surface may be touch-dry overnight, but installing, flipping, or attaching hardware is safer after at least 24 to 48 hours. Placing hot dishes, using cleaners, or putting the surface into daily service typically should wait 3 to 7 days. If you plan to sand and polish for a gloss finish, doing so after the epoxy has fully cured reduces the risk of swirl marks and clogged abrasives.
Small casting example
With small molds or jewelry pieces, demolding is often possible after 24 hours, but full hardness and clarity improve over the next several days. If you need to drill, sand, or assemble parts, scheduling that work a few days after demolding generally produces cleaner results and reduces breakage.
FAQ
Can I make epoxy dry faster with more hardener?
No. Changing the resin-to-hardener ratio usually prevents proper curing and often leaves the epoxy soft or sticky. To speed cure, control temperature or use a faster hardener recommended by the same manufacturer.
Why is my epoxy still sticky after 24 hours?
Common causes are low temperature, high humidity, or incorrect mixing. First check that your workspace is within the recommended temperature range and give it more time. If areas remain liquid or gummy after several days in proper conditions, the batch was likely mixed incorrectly and may need to be removed.
When is epoxy safe to walk or work on?
Many floor and coating epoxies can handle light foot traffic after about 24 hours at 70°F (21°C), with full mechanical and chemical resistance reached after several days. Always follow the timelines on your specific product’s data sheet.
How long before I can sand or polish epoxy?
Light sanding is often possible after 24 hours, but for best results, especially with clear coatings, wait until near or at full cure, typically 3 to 7 days, so the material is hard and stable.